Have you ever tried to make homemade milk slices? It’s actually really easy, and they taste just as good as the shop-bought ones. During the week, I saw several people posting pictures of homemade milk slices, so I was inspired to try it myself. It’s been years since I’ve tasted a milk slice, and these homemade ones are delicious! Try this quick and easy recipe for yourself:
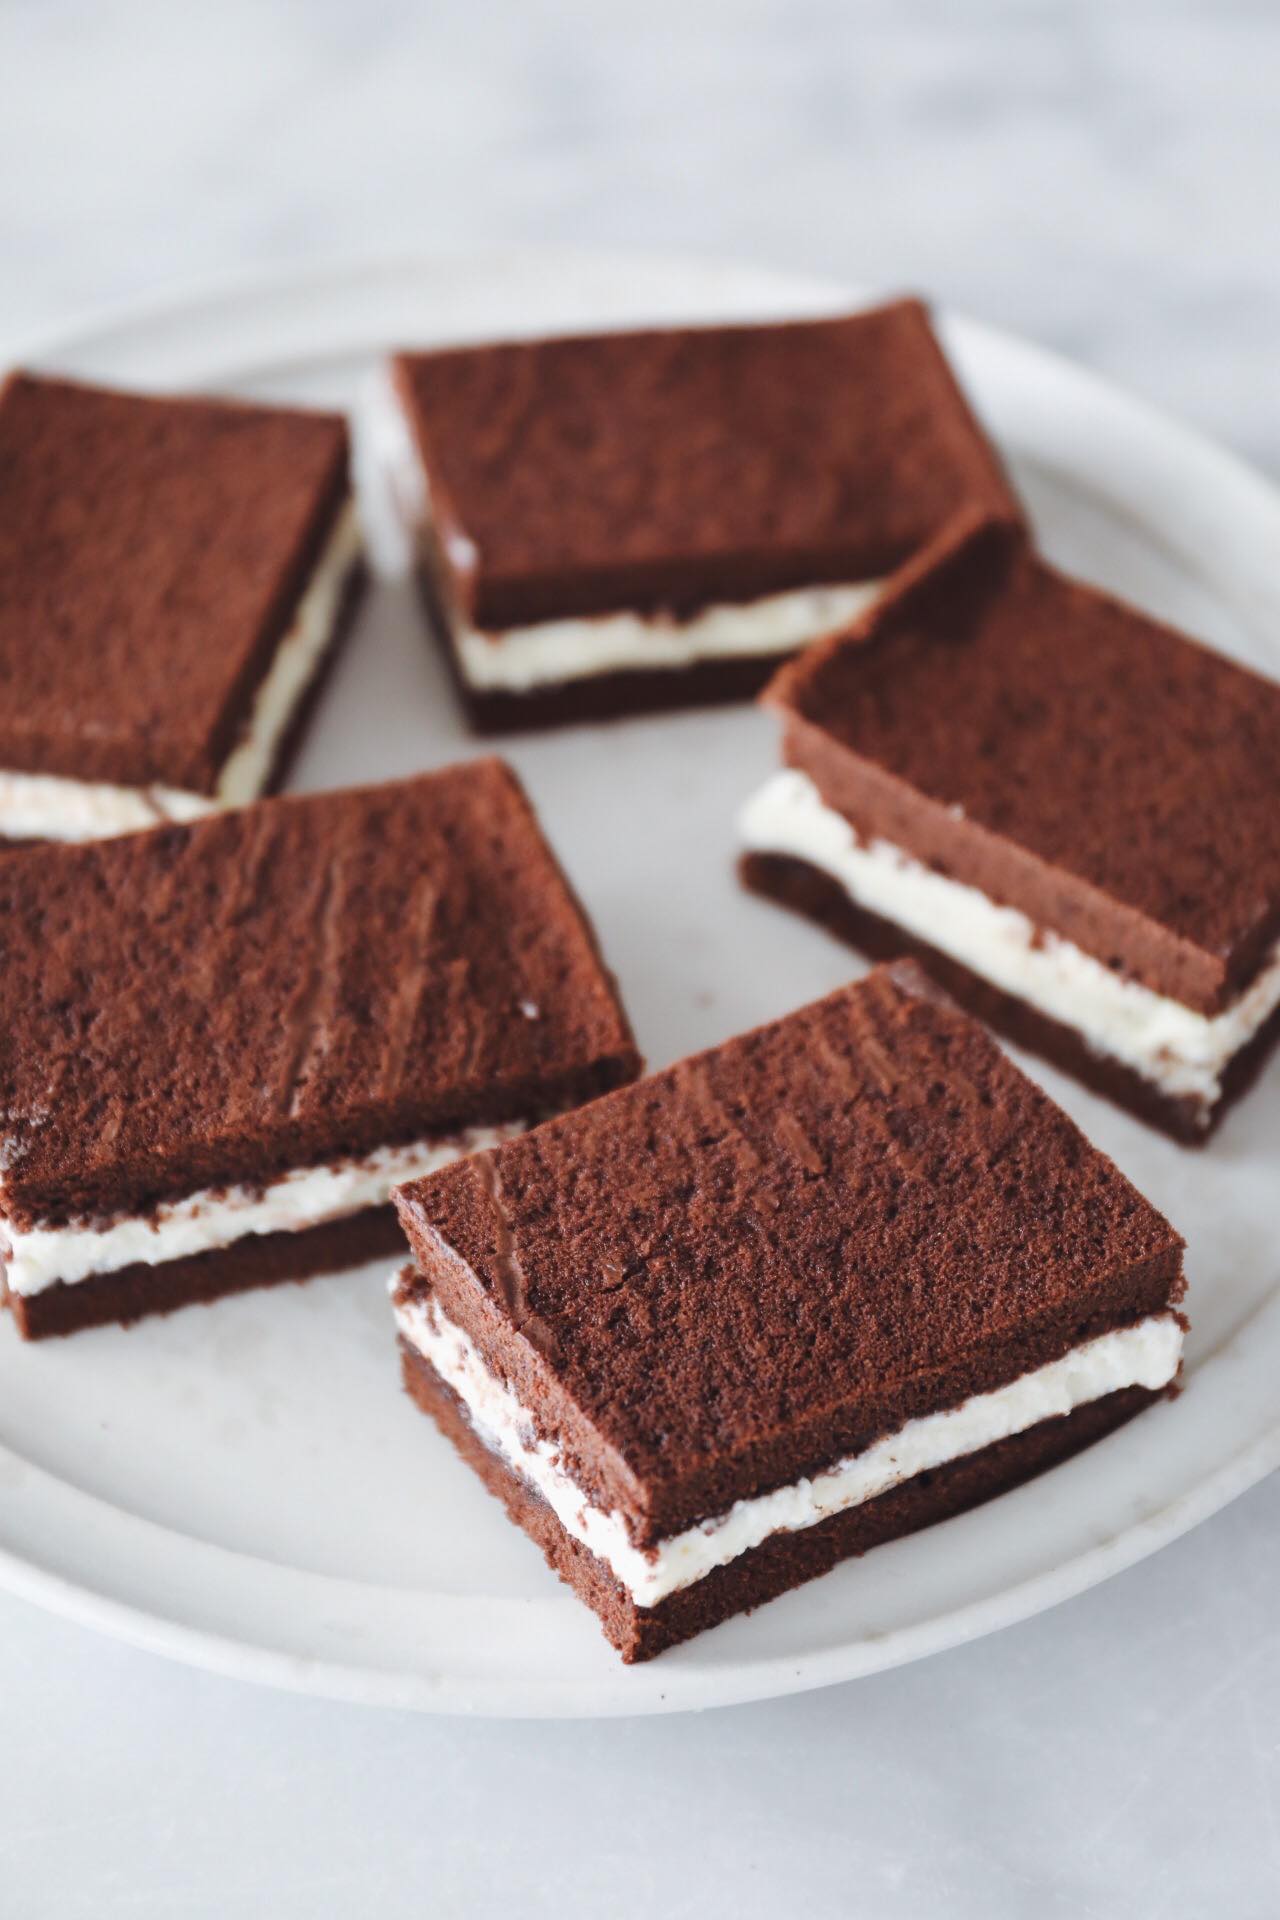
Homemade milk slices – a deliciously easy recipe
Ingredients
Milk slices (makes 10-12): Base:Instructions
Base:
Heat the oven to 225 C convection. Whisk the eggs and sugar until light and fluffy. Add the melted butter and whisk again. Mix the cocoa powder, flour, vanilla powder and salt in a bowl and mix that into the batter. Finally, add the milk and whisk well into the batter. Line a 40 × 30 cm tin with baking paper and bake the base for 10 minutes. Then let it cool completely.
Filling:
Whisk the cream cheese, confectioner’s sugar, vanilla sugar, lemon and honey together. Whisk the cream into a light froth in another bowl and fold it into the cream cheese mixture and refrigerate.
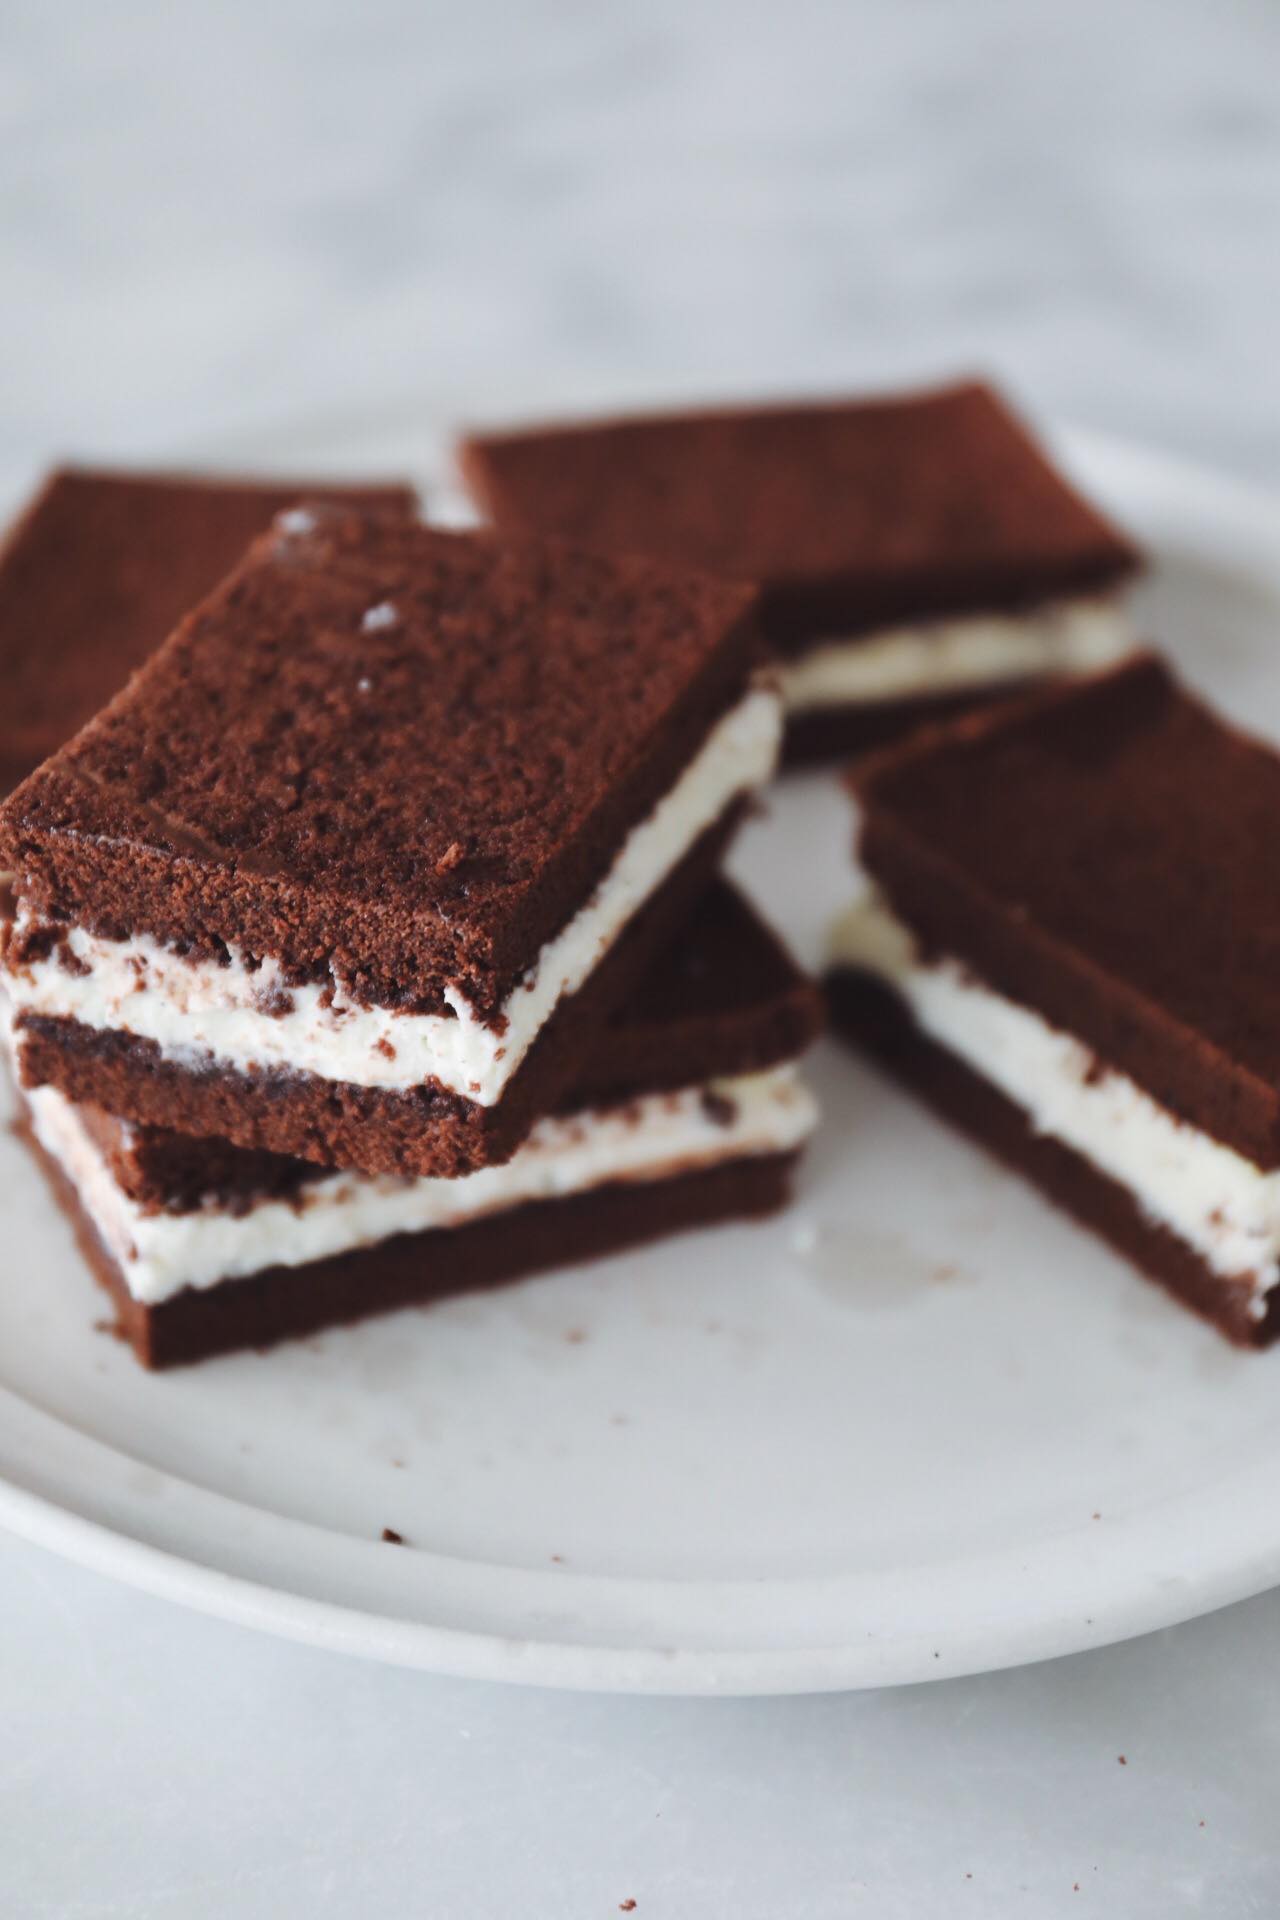
How to assemble the milk slices:
Cut the base into two 2 equal squares. Spread the filling on one and place the other on top. Refrigerate. Then cut into equal rectangular milk slices. The milk slices can last for 3-4 days in the fridge (if you don’t eat them all!). Enjoy!


Please write a comment