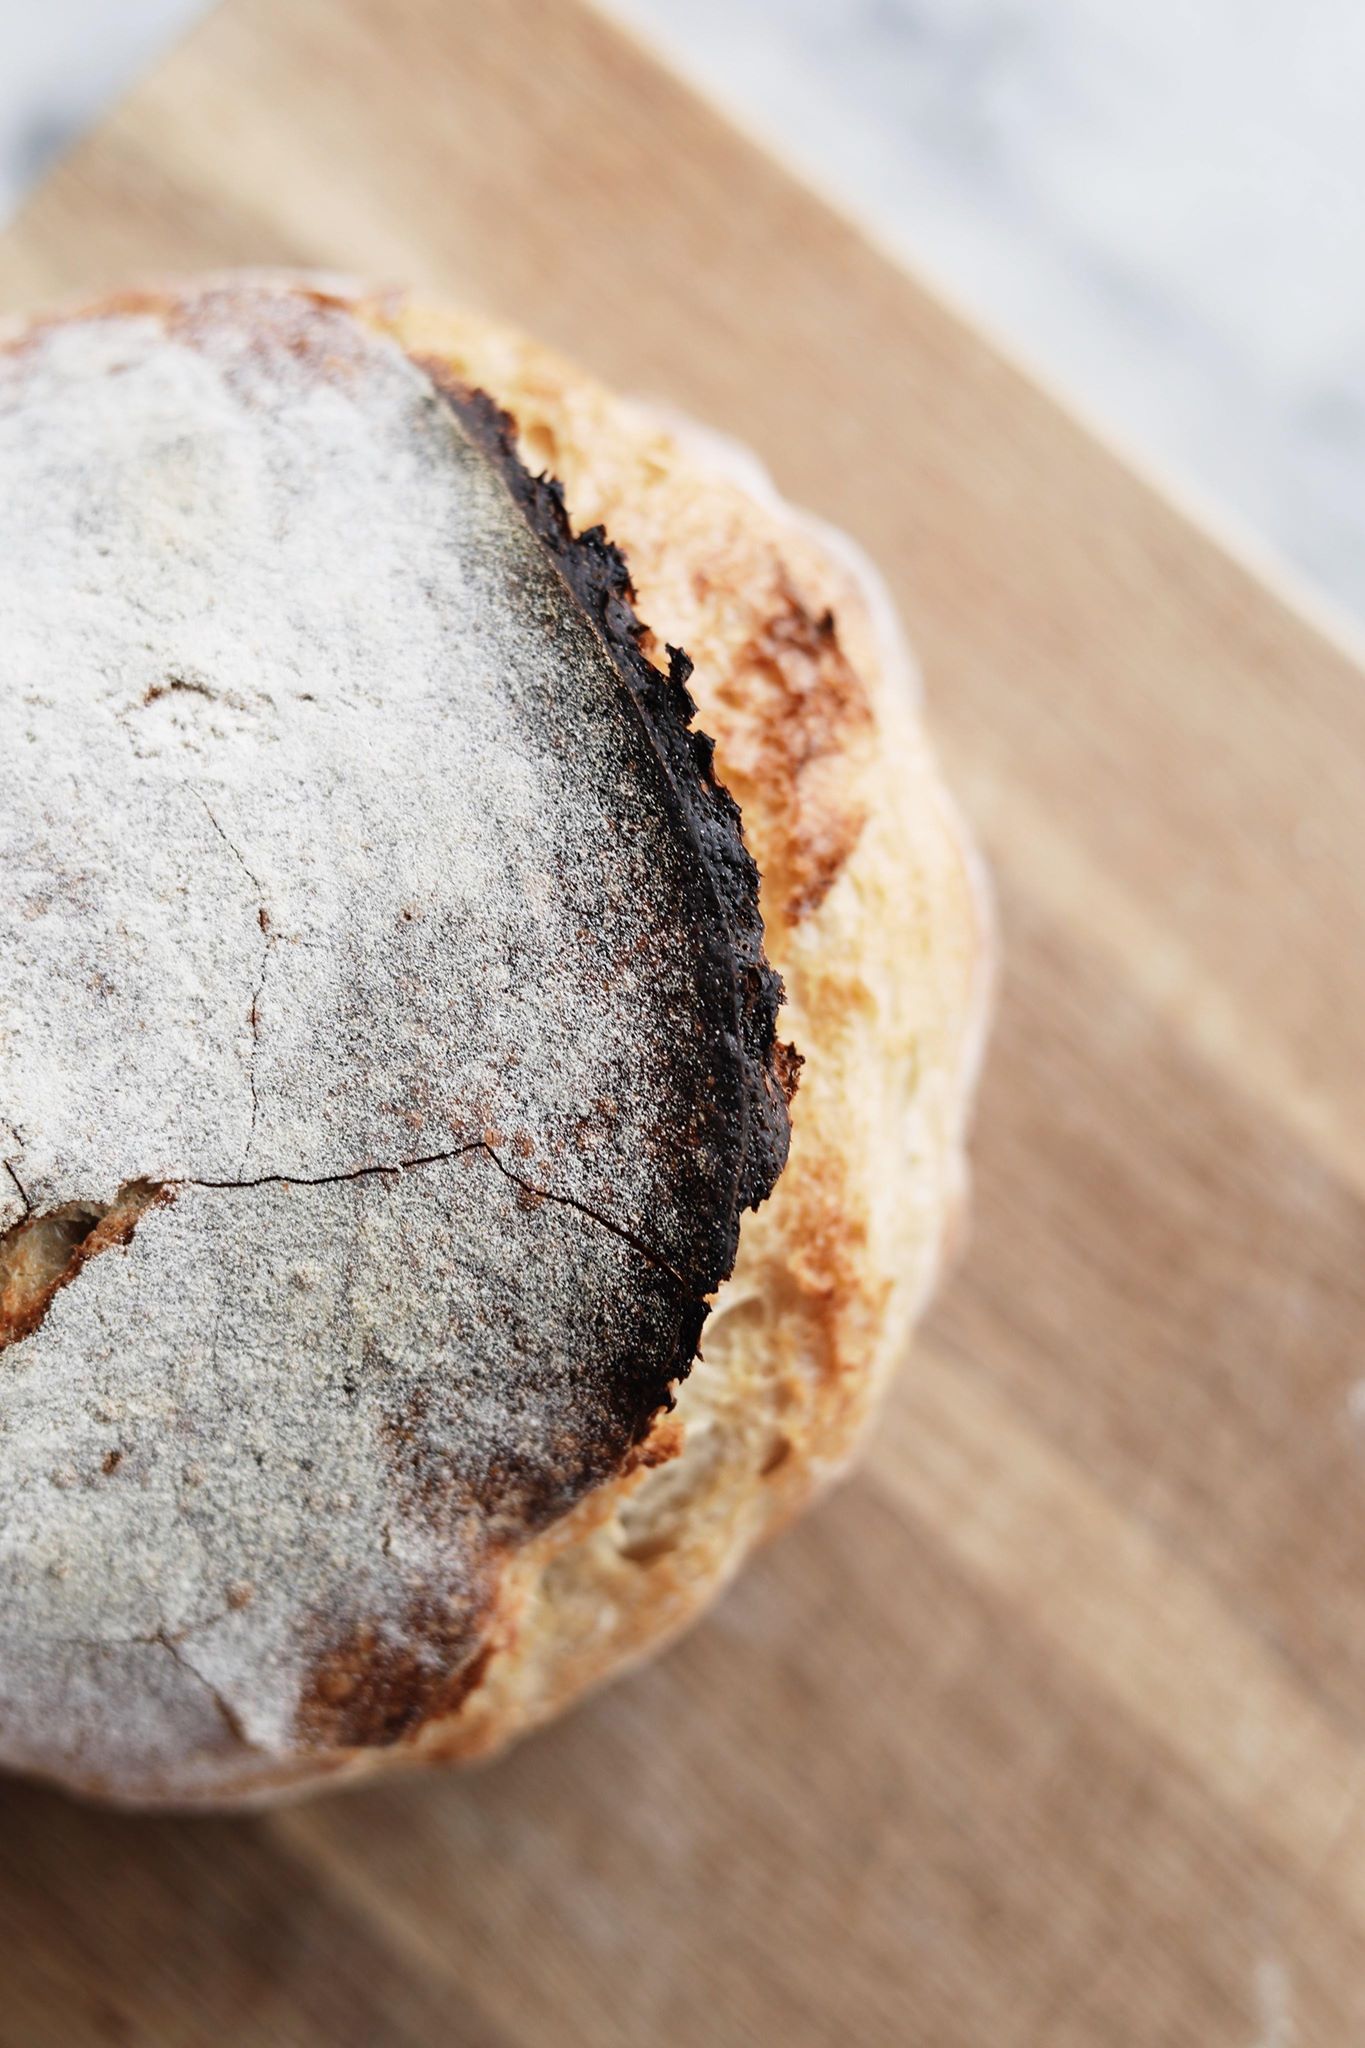
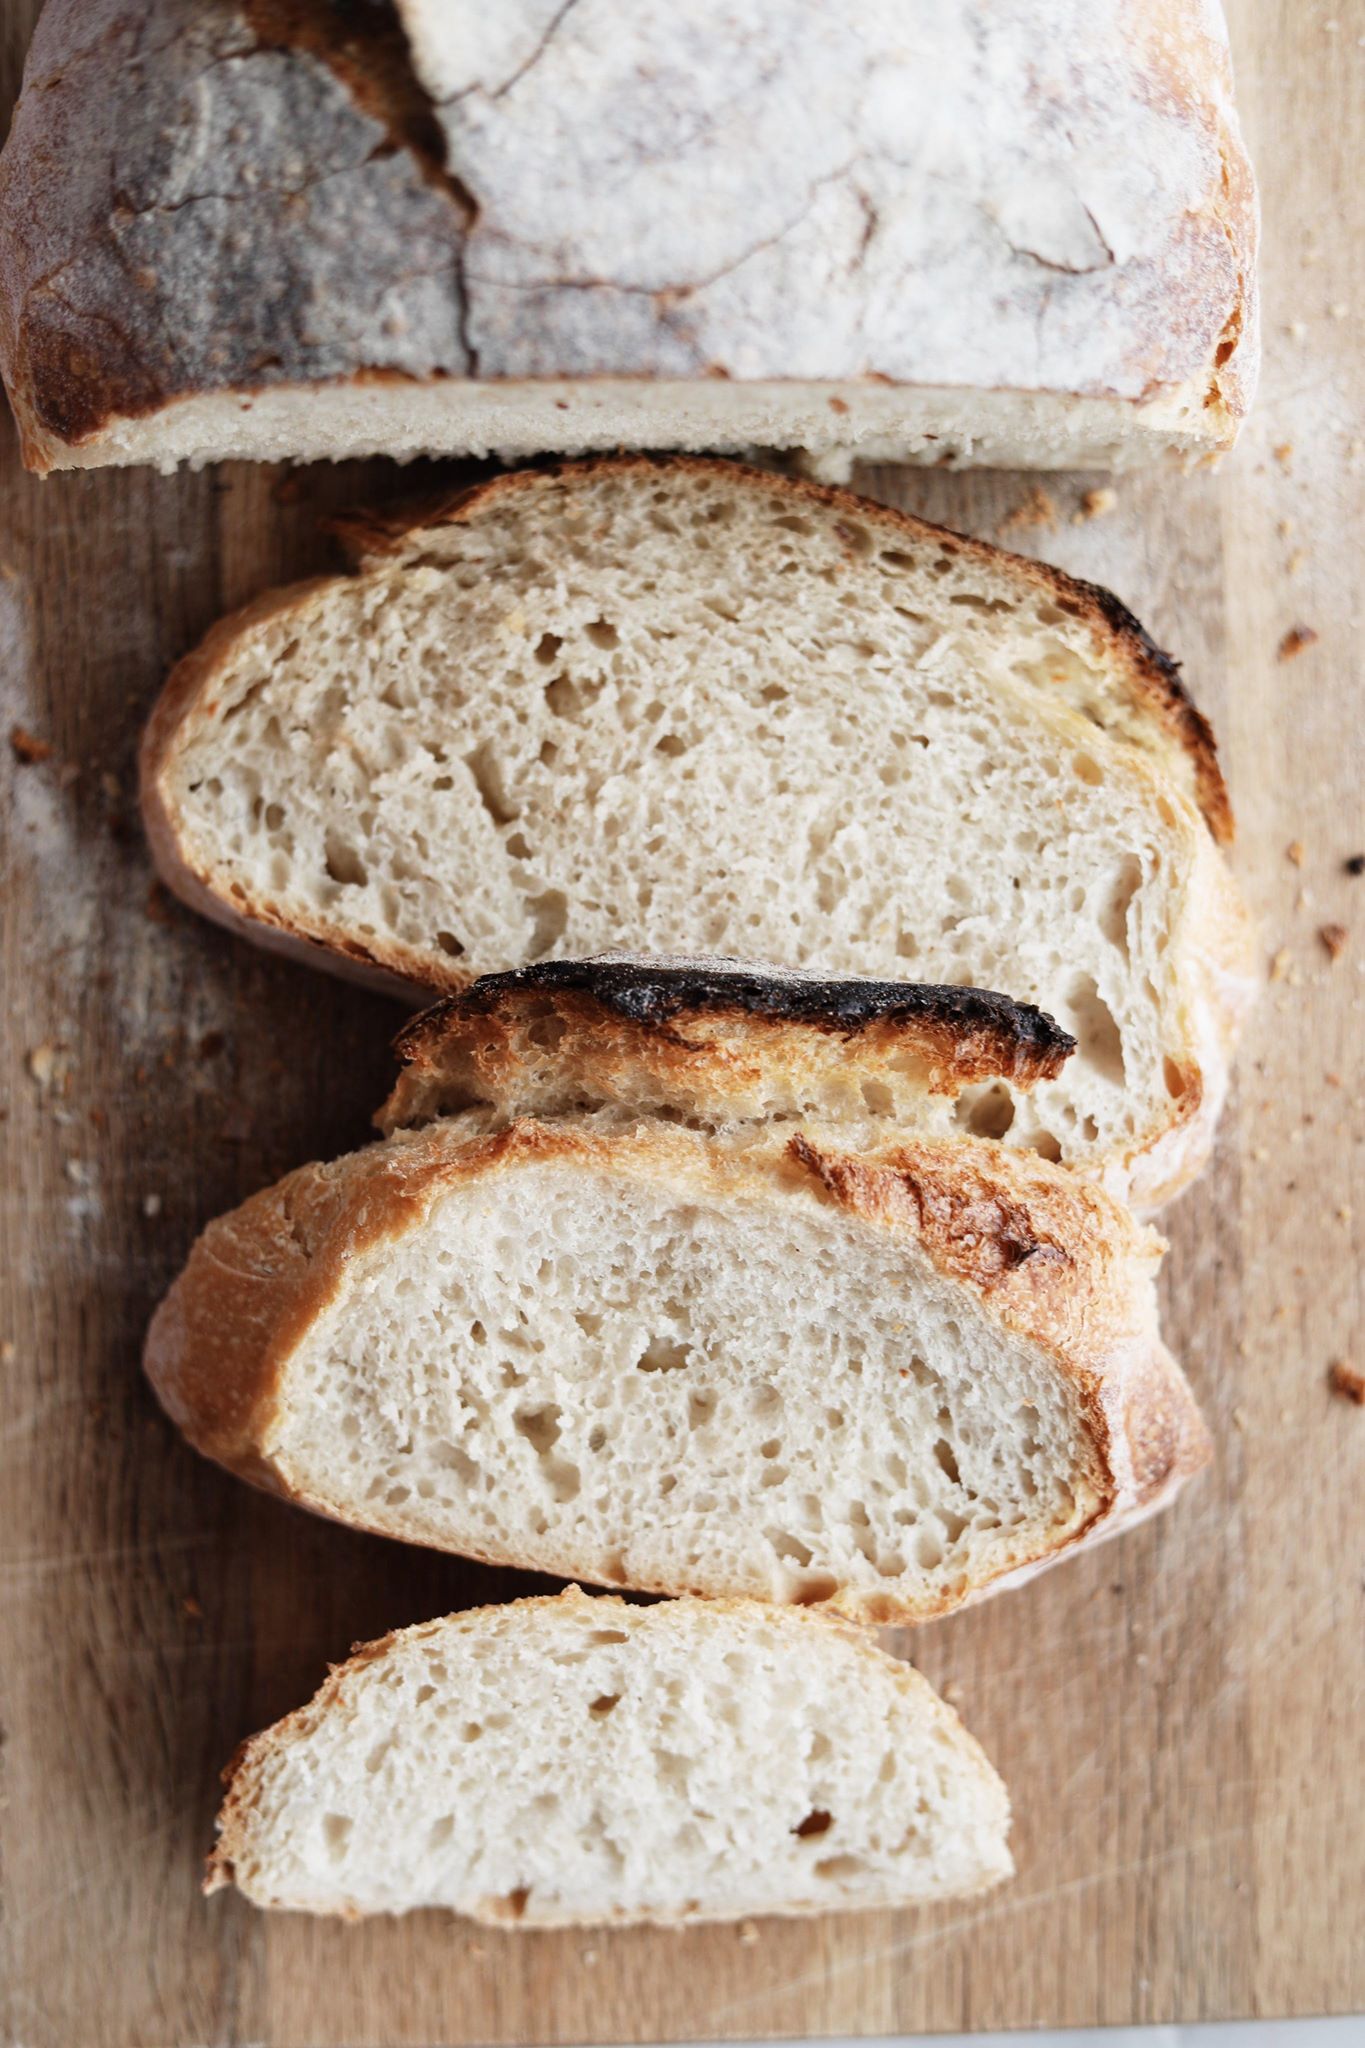
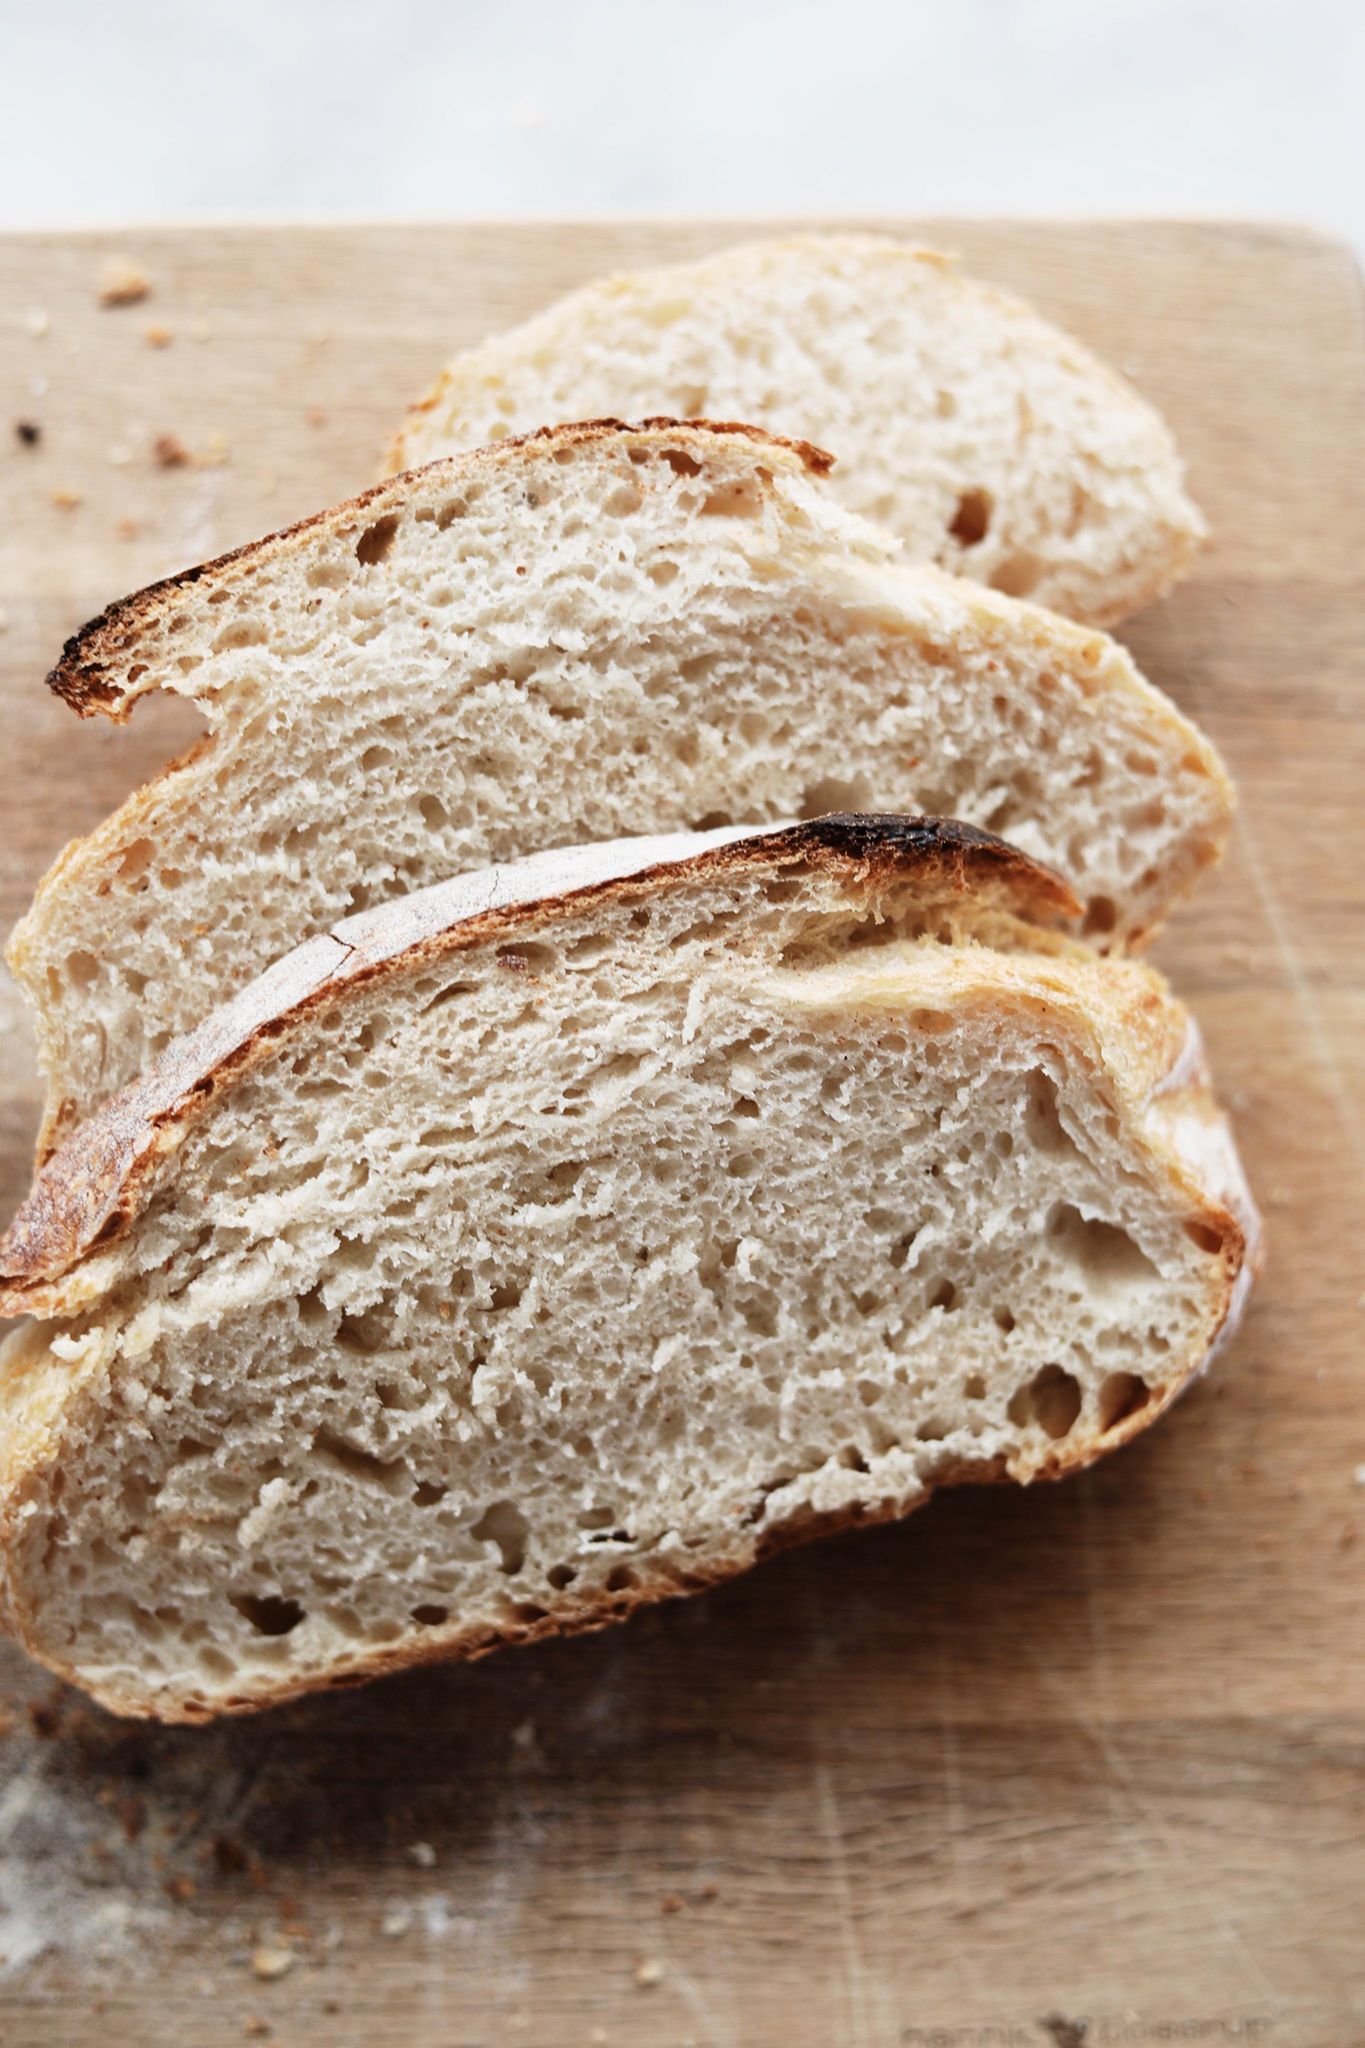
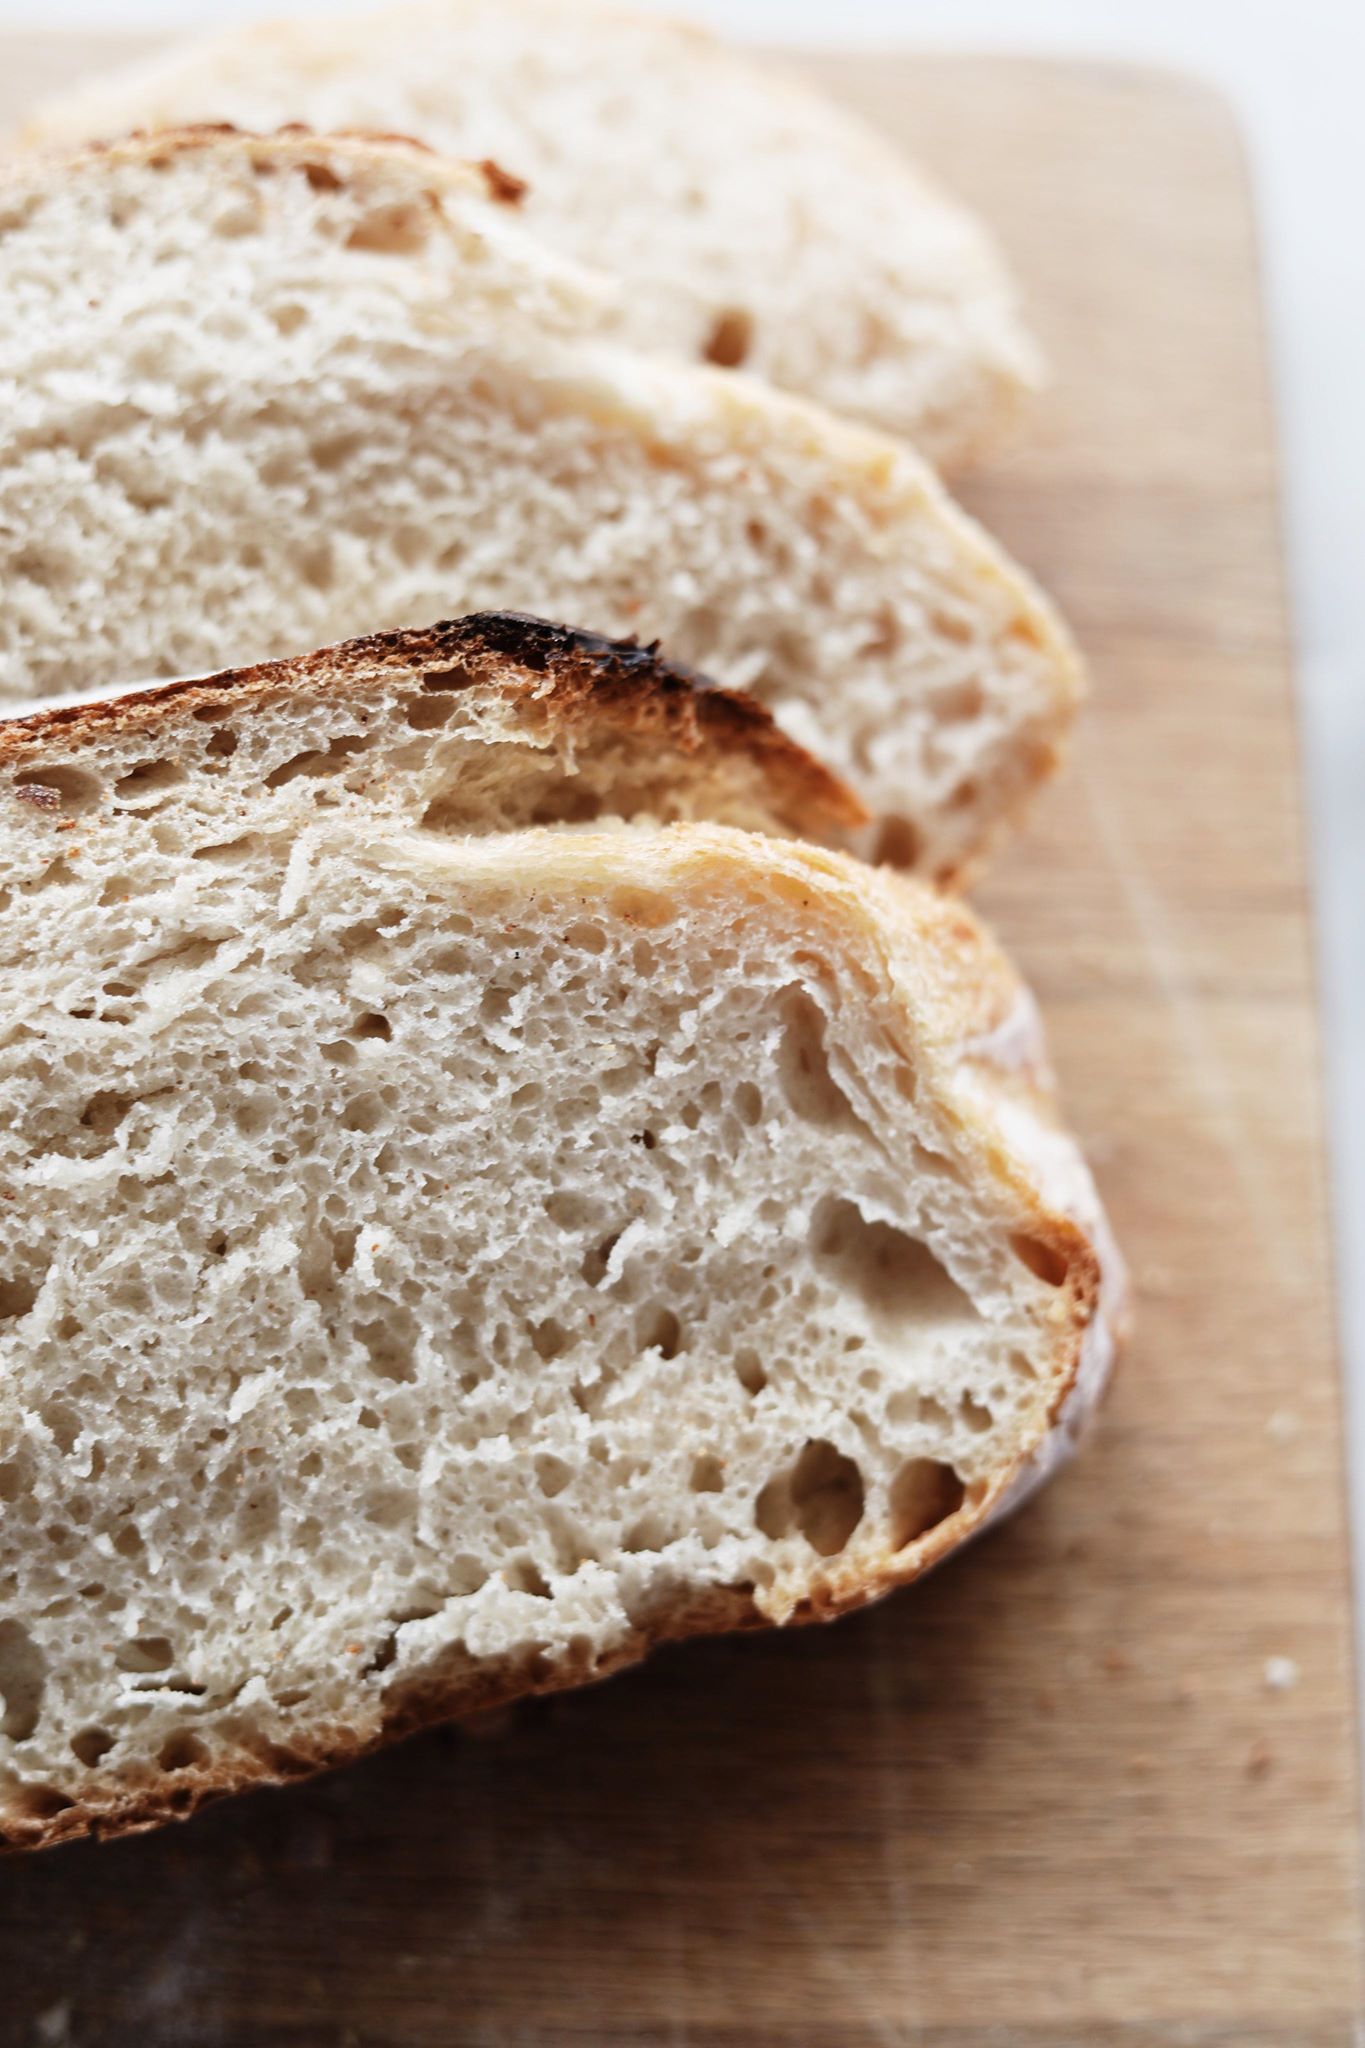
Sourdough bread – delicious, crispy and lovely airy sourdough bread. I’ve become addicted to baking sourdough bread and bake several times a week using my sourdough. I’ve been testing sourdough bread for the last few weeks. I’m certainly not an expert on sourdough but baking with sourdough is really fun and educational(!) The bread might not be perfect on the first attempt – you’ll need to have a few goes!
The recipe for this bread is based on my own experiences and what works for me. Baking with sourdough is a lot about using your senses – smelling, stirring and tasting. The bread is baked exclusively on all-purpose flour, because sometimes whole white bread is the best. But you can bake bread with other types of slightly coarser flour, too, e.g., coarse spelt flour. If you bake the bread with coarse flour, such as spelt flour, remember to nourish your sourdough with 45 g of coarse spelt flour and 35 g of all-purpose flour. The dough should be made from 420 g all-purpose flour and 80 g coarse spelt flour.
I tried to take some step-by-step pictures, but if you have any doubts, there are loads of the entire process on YouTube and Instagram. Have fun!
Utensils I use when baking bread/rolls with sourdough:
Food storage (*advertising link)
Dough scraper (*advertising link)
Round dough rising basket (*advertising link)
Bread scoring tool (*advertising link)
Cast iron pot (*advertising link)
Rice flour (*advertising link)
Baking sheet (*advertising link)
Food mixer (*advertising link). I use my food mixer most when baking bread rolls (and other things), but not this bread.
Organic flour. I always use organic Danish flour from Mejnerts Mølle. It’s so important to use good flour when baking bread.
* Autolyse is what happens when you mix flour and water together and leave it covered for about 45 minutes to 1 hour, without kneading it. The flour absorbs all the water, and a good gluten network begins to form, making the dough smoother, more elastic and easier to work with.
Sourdough bread
Ingredients
SourdoughInstructions
Day 1
Sourdough
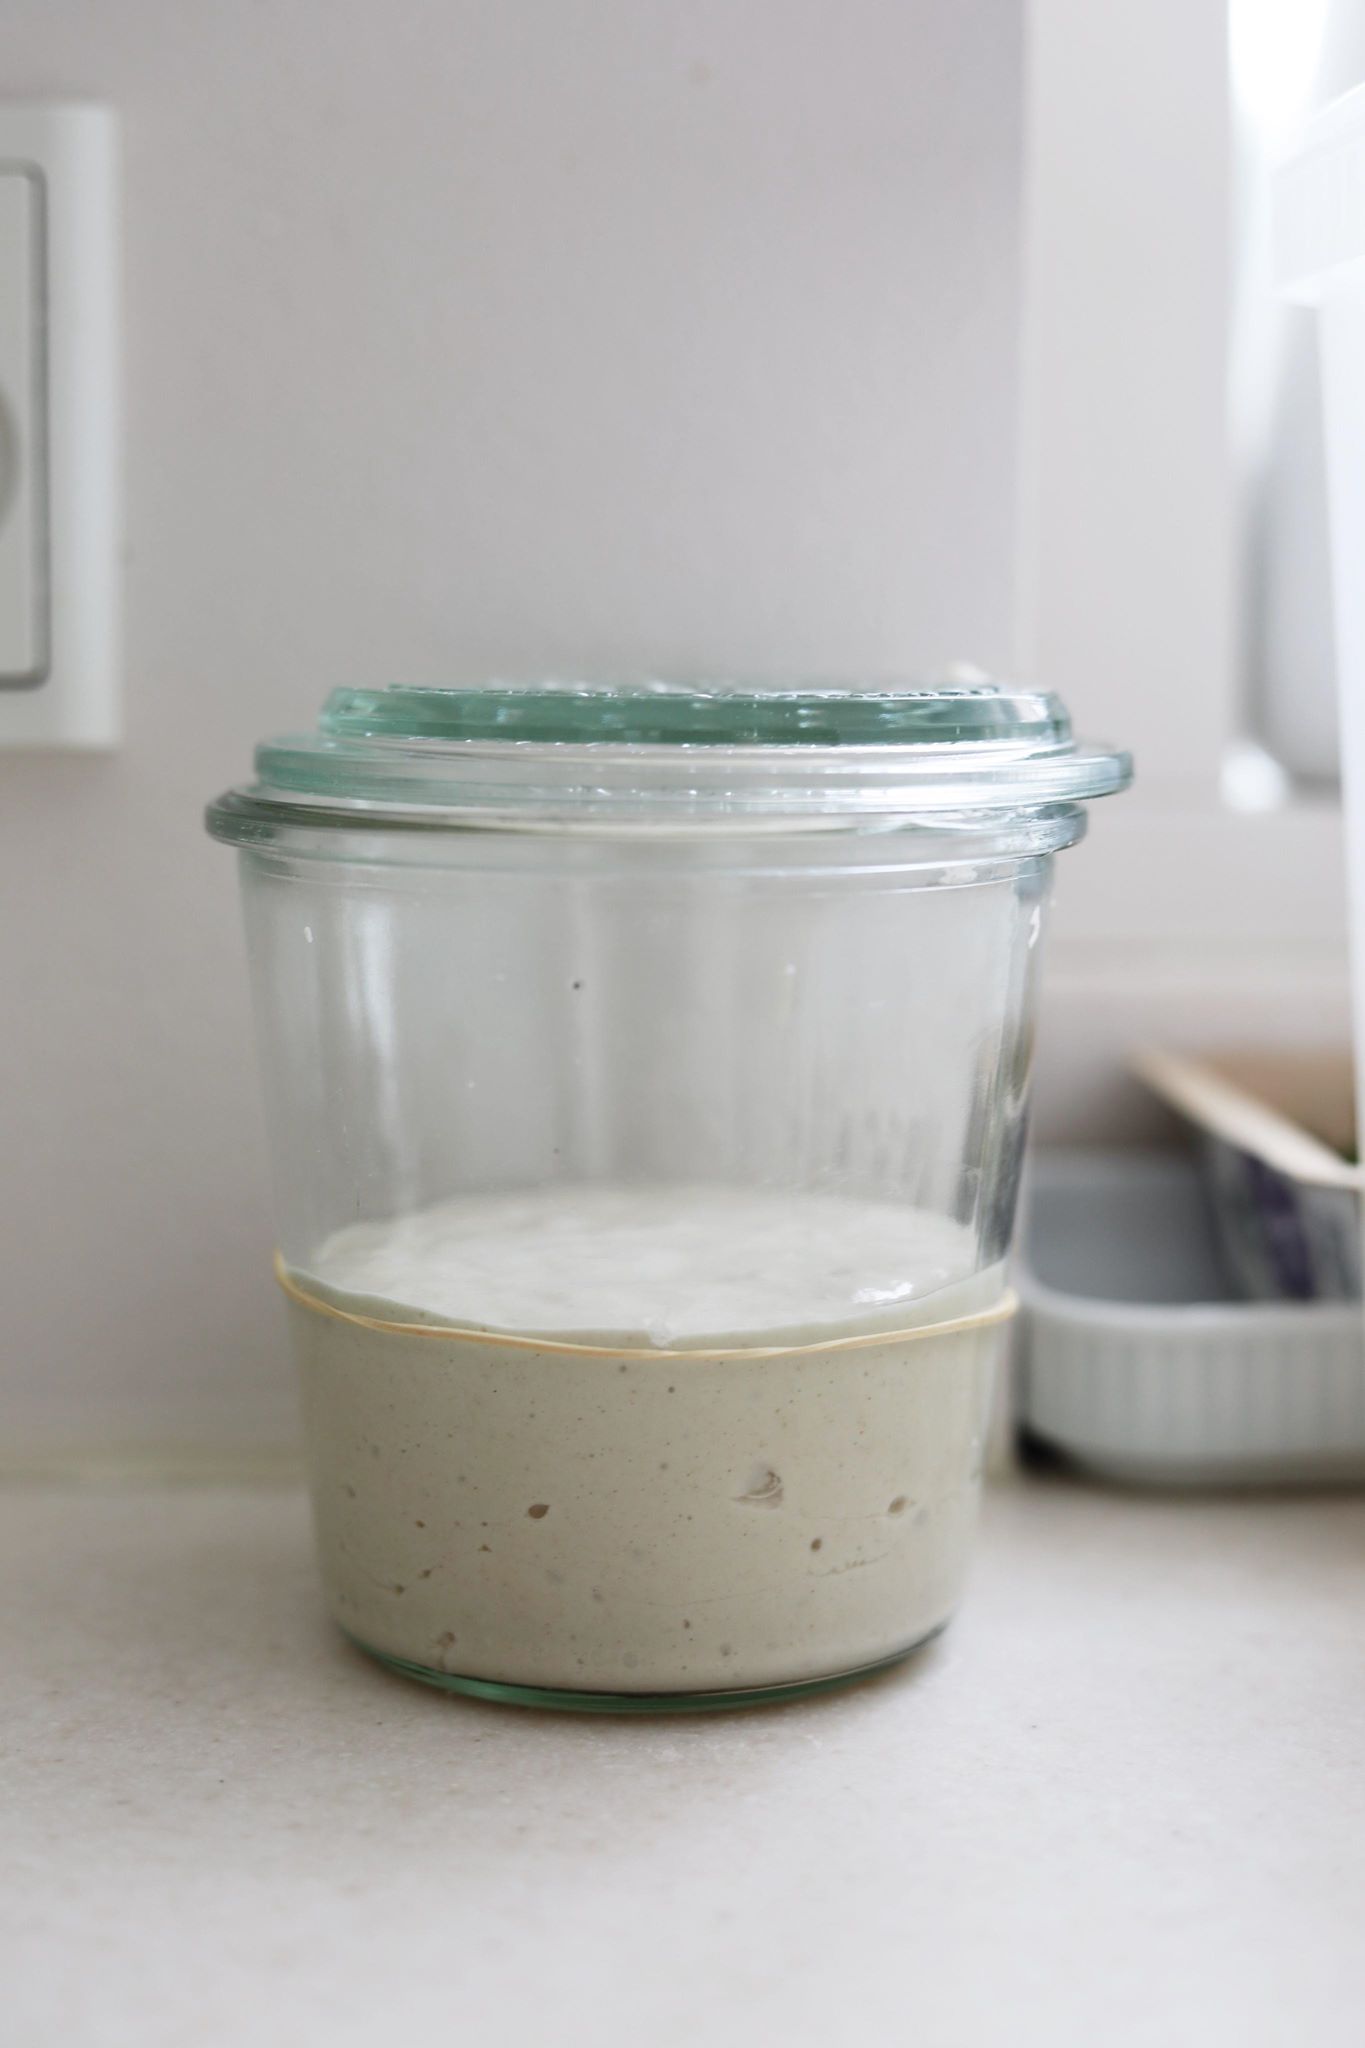
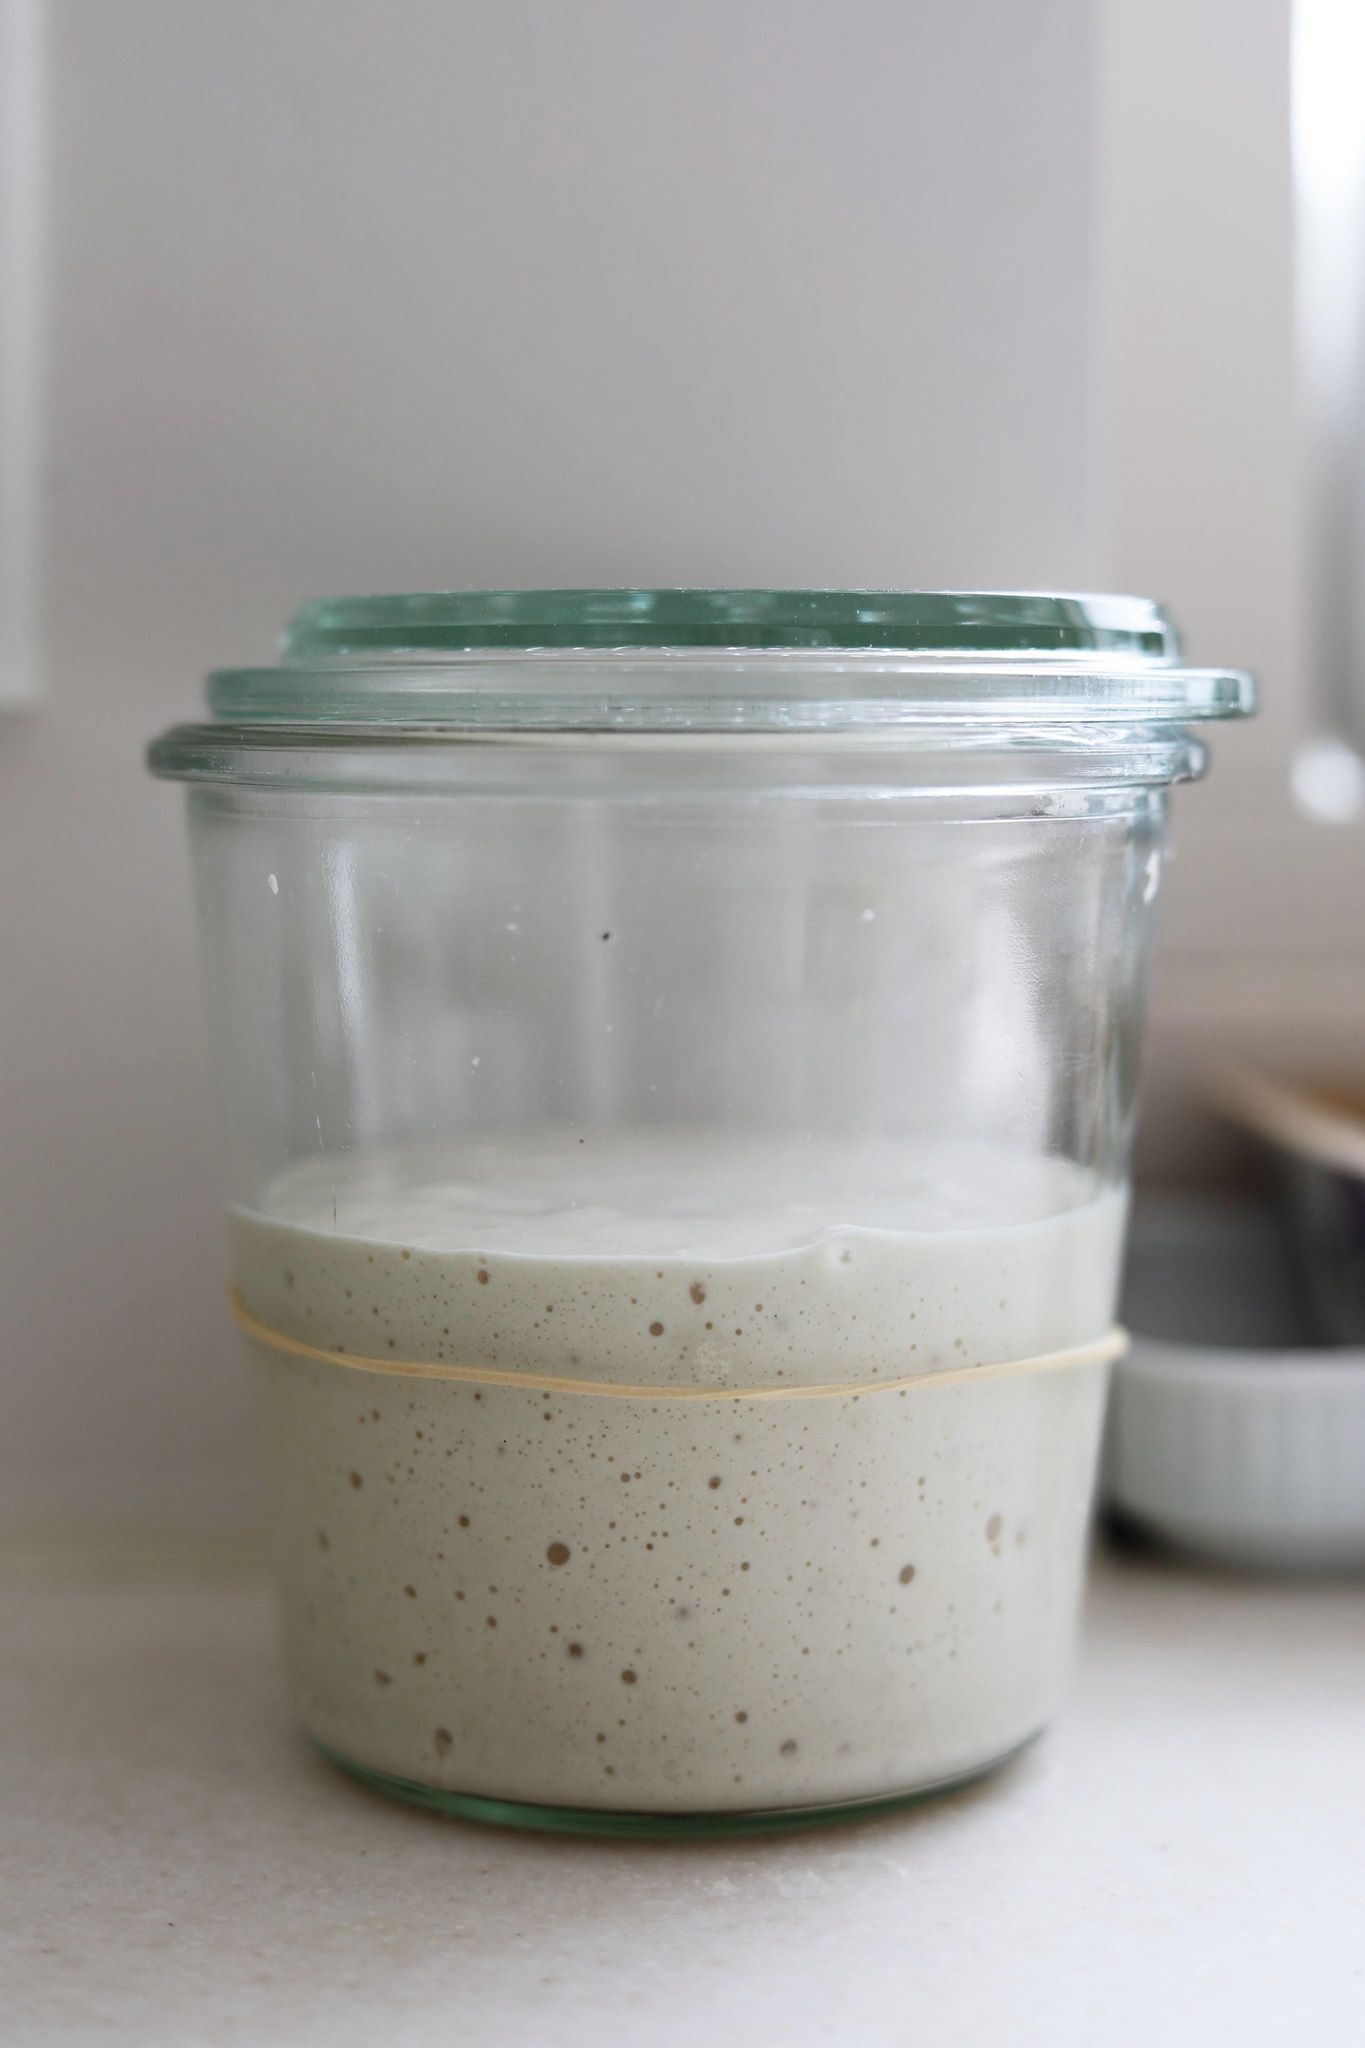
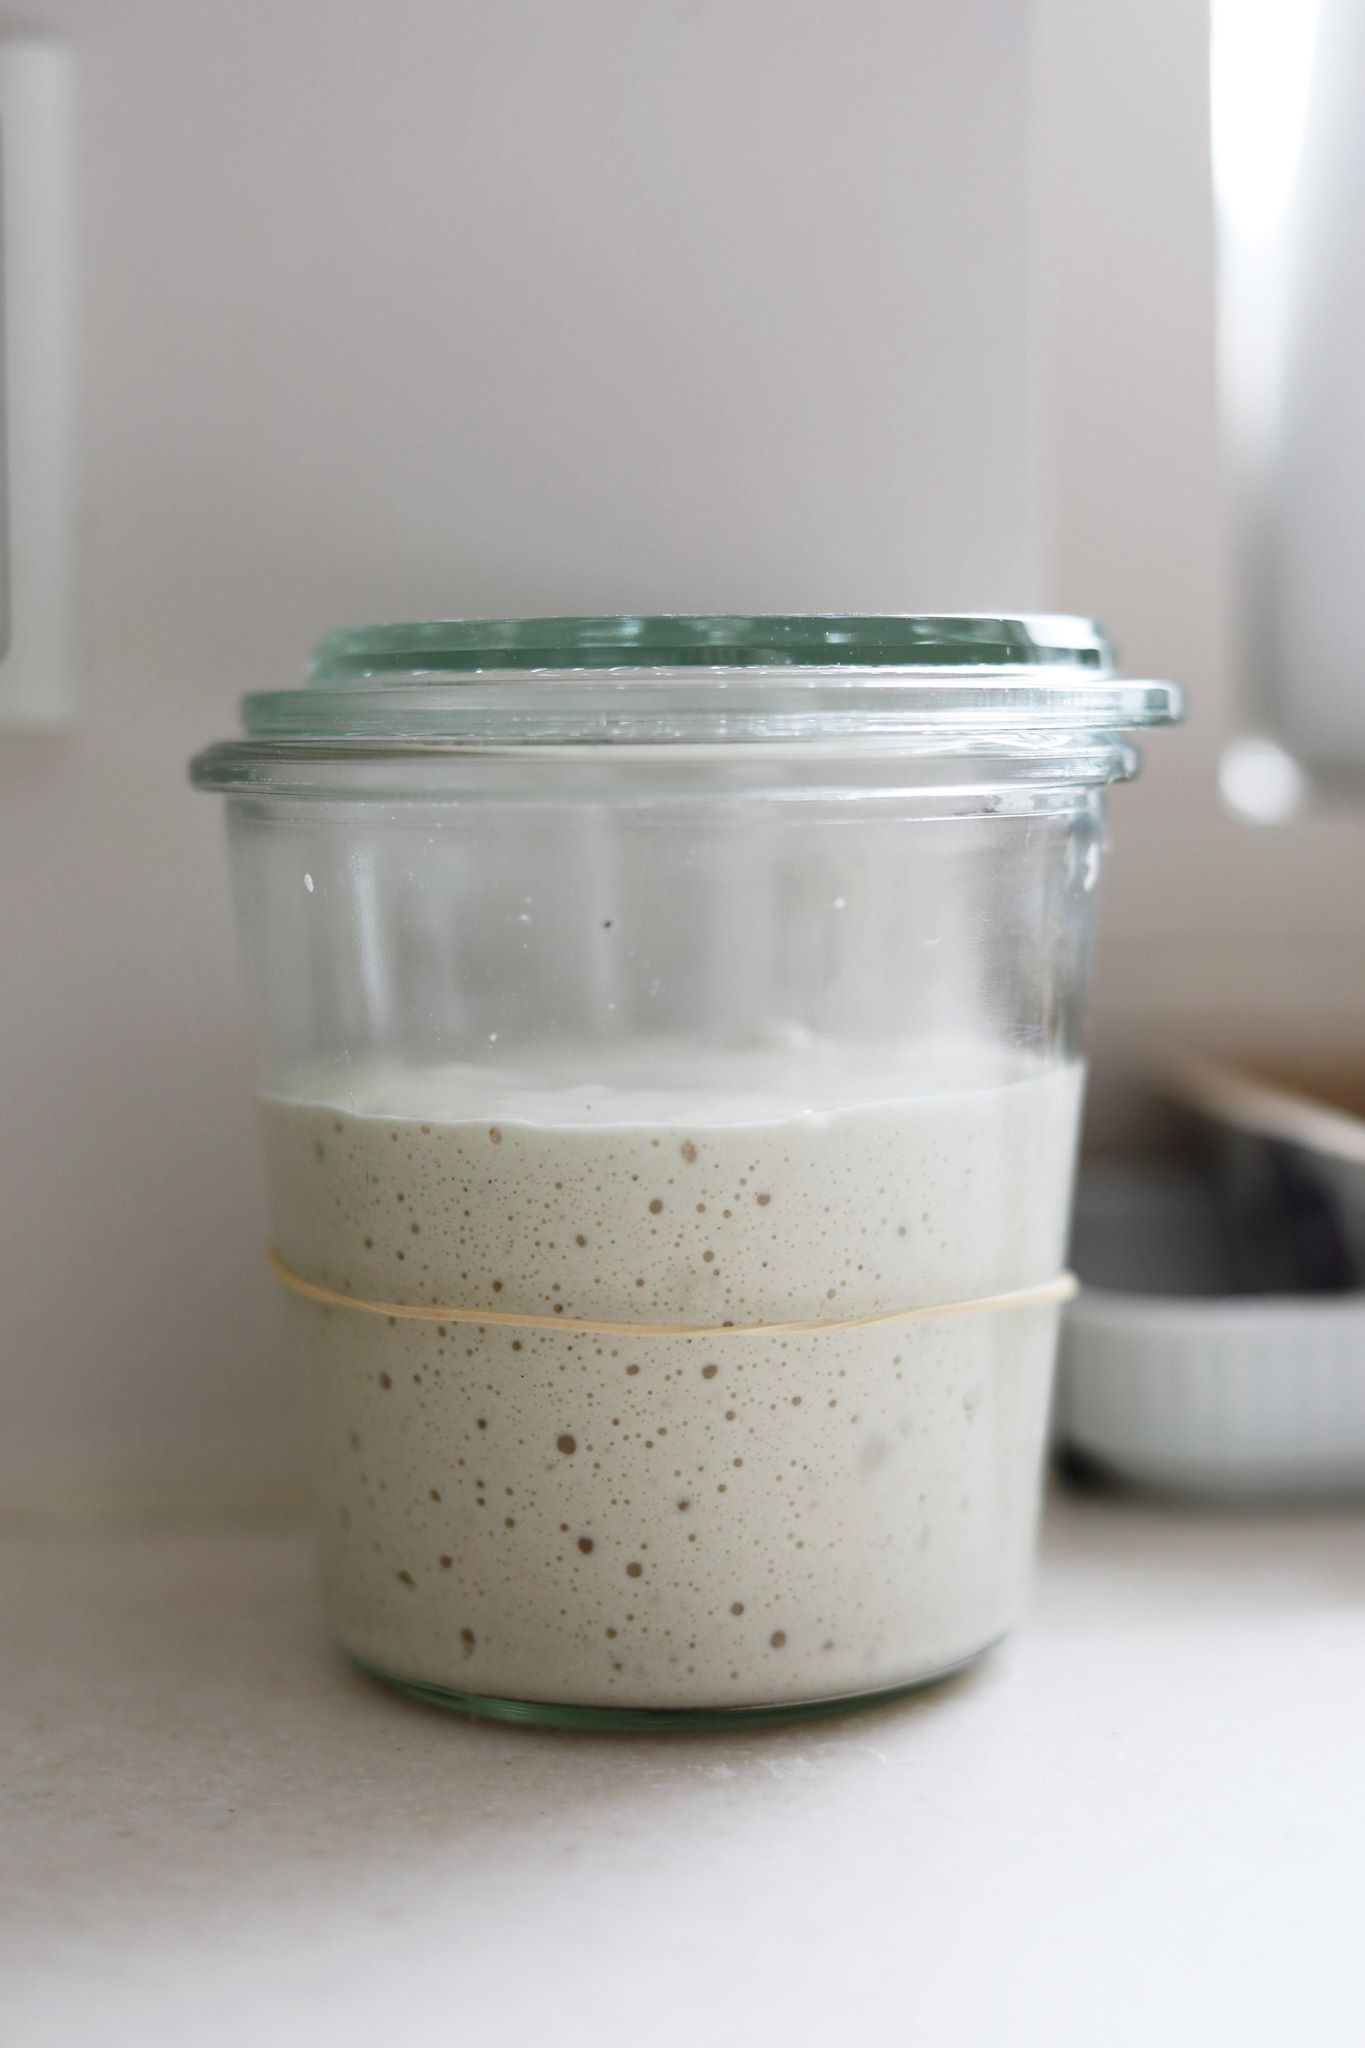
Feed your sourdough, leave the lid ajar and allow your sourdough to rise slightly. When your sourdough smells sour, it’s ready. It took about 3 hours for my sourdough.
Test whether your sourdough is ready for baking
If you are unsure whether your sourdough is active enough and ready for baking, fill a glass with cold water. Put a spoonful of sourdough in the glass and if your sourdough floats, it’s active and absolutely perfect for baking with.
The dough
When your sourdough is ready:
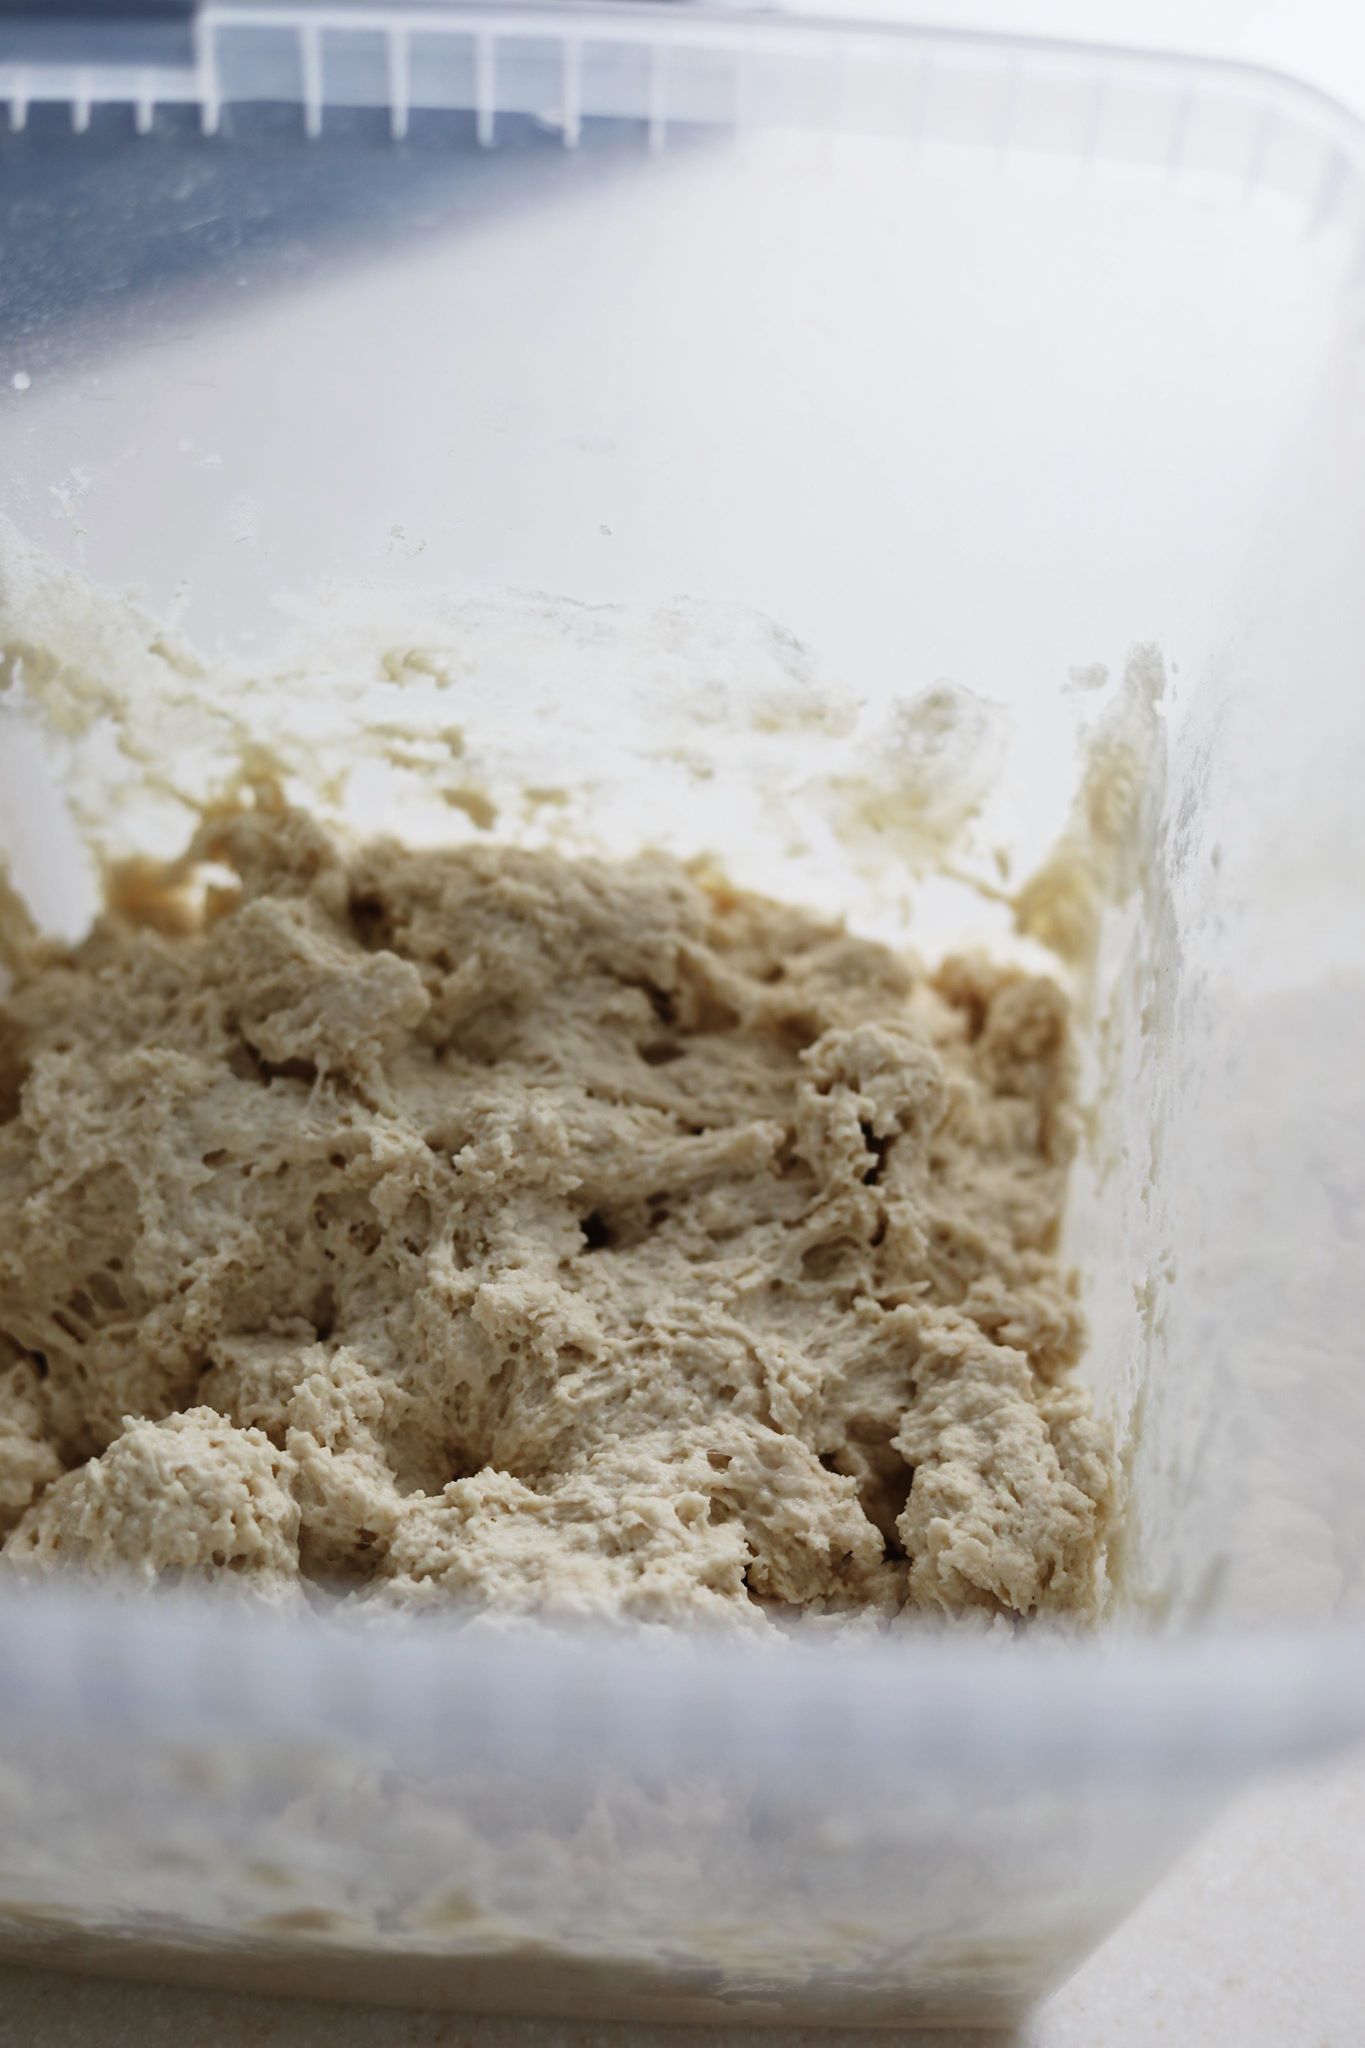
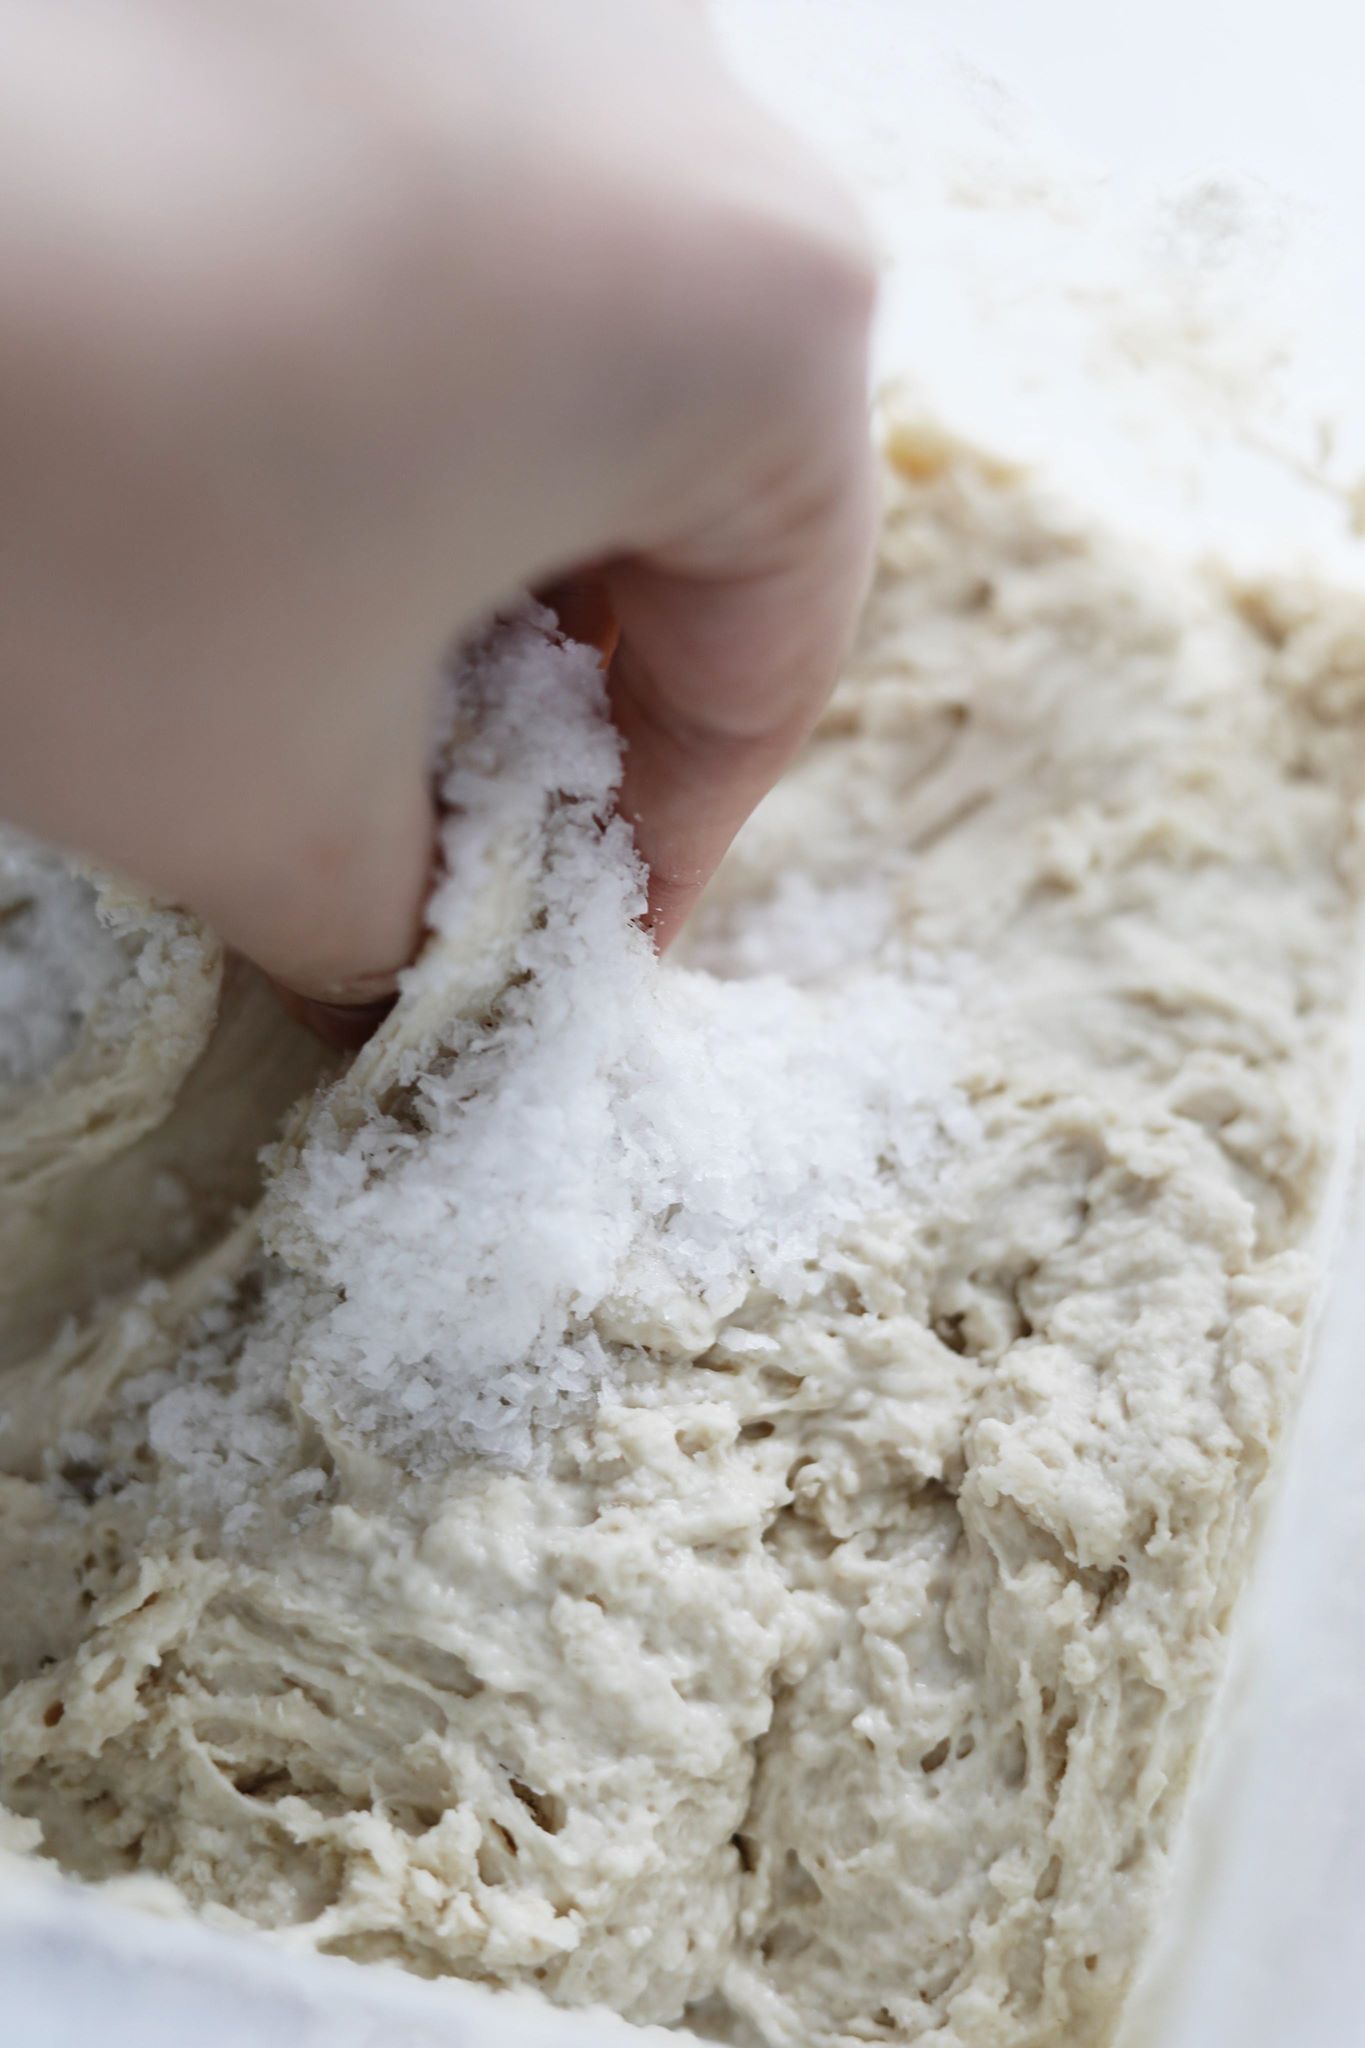
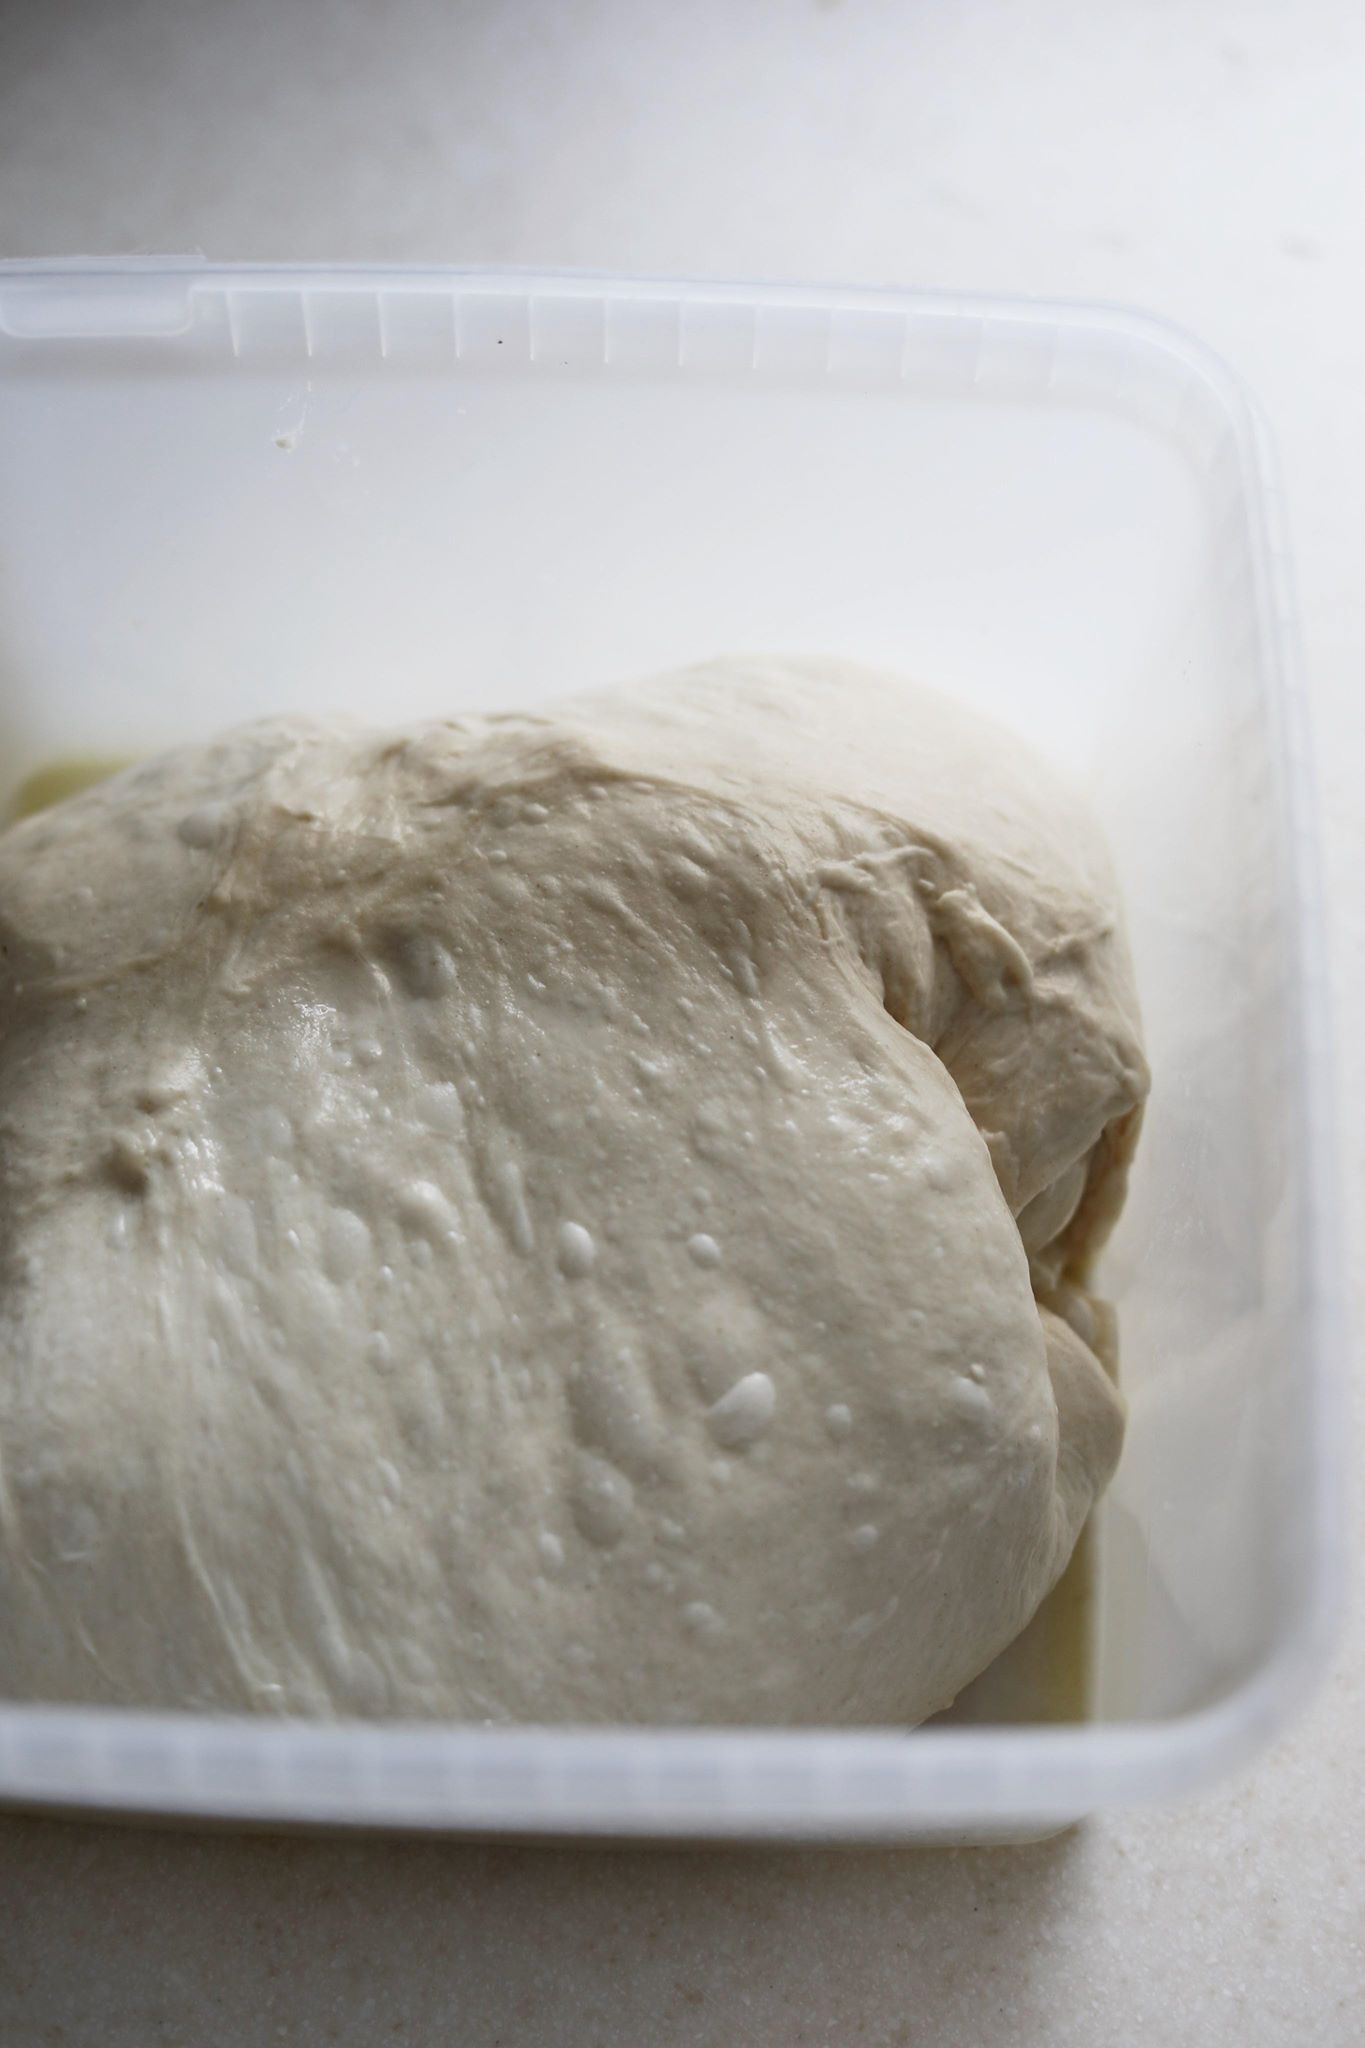
Put the water, all-purpose flour and sourdough in a bowl or food storage box. Stir it to a sticky oatmeal-like mass. Leave the mass covered for about 1 hour for autolyse*. Then add the salt by squeezing it well into the dough with your fingers. Pour the dough into another bowl or storage box greased with some olive oil.
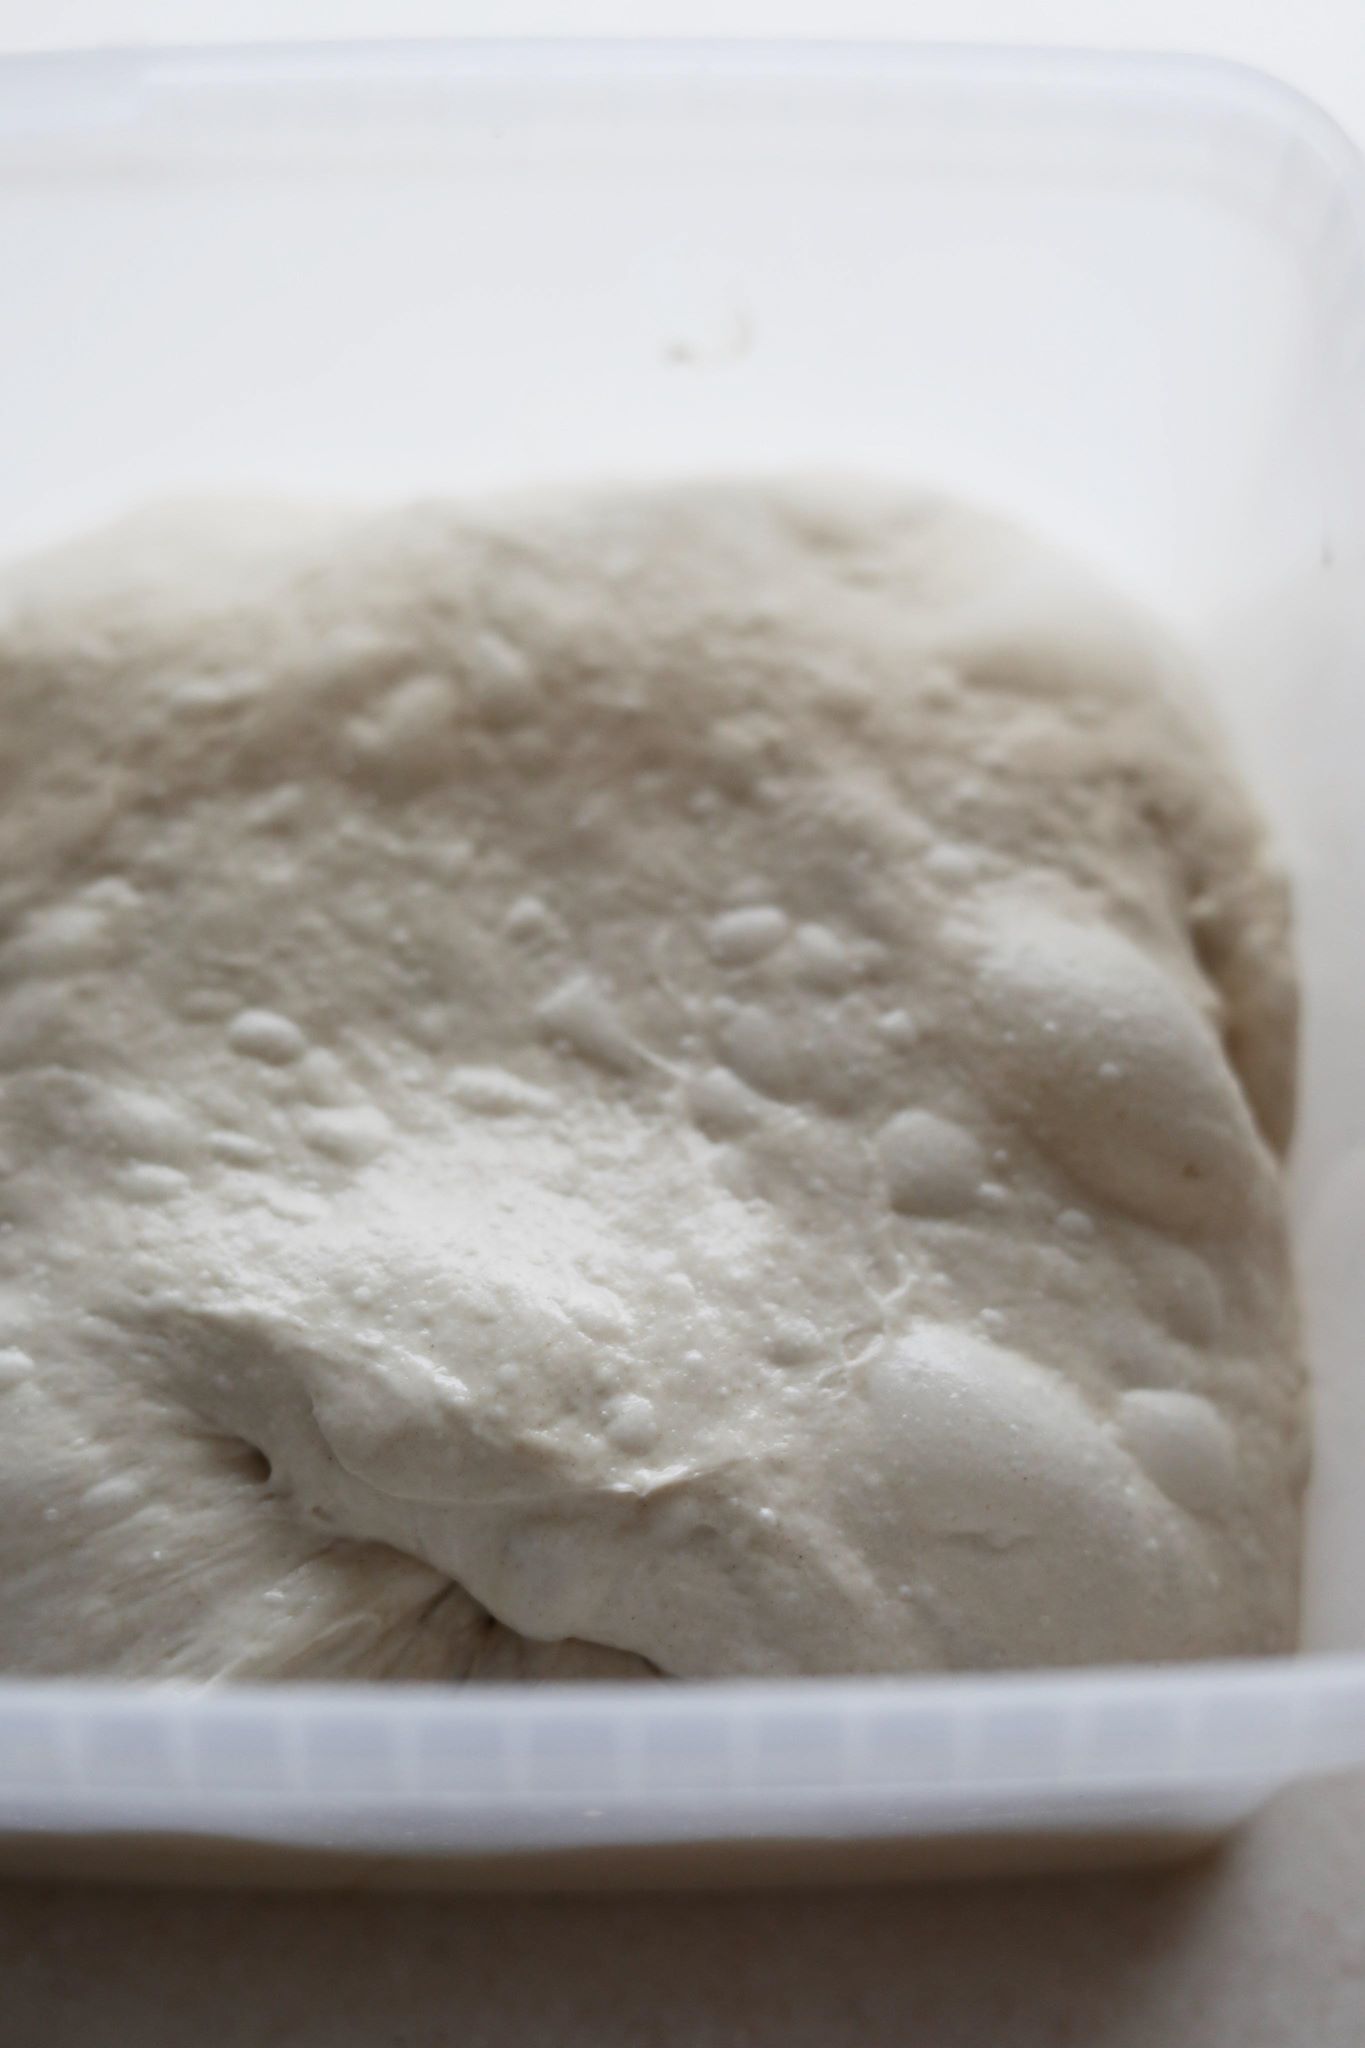
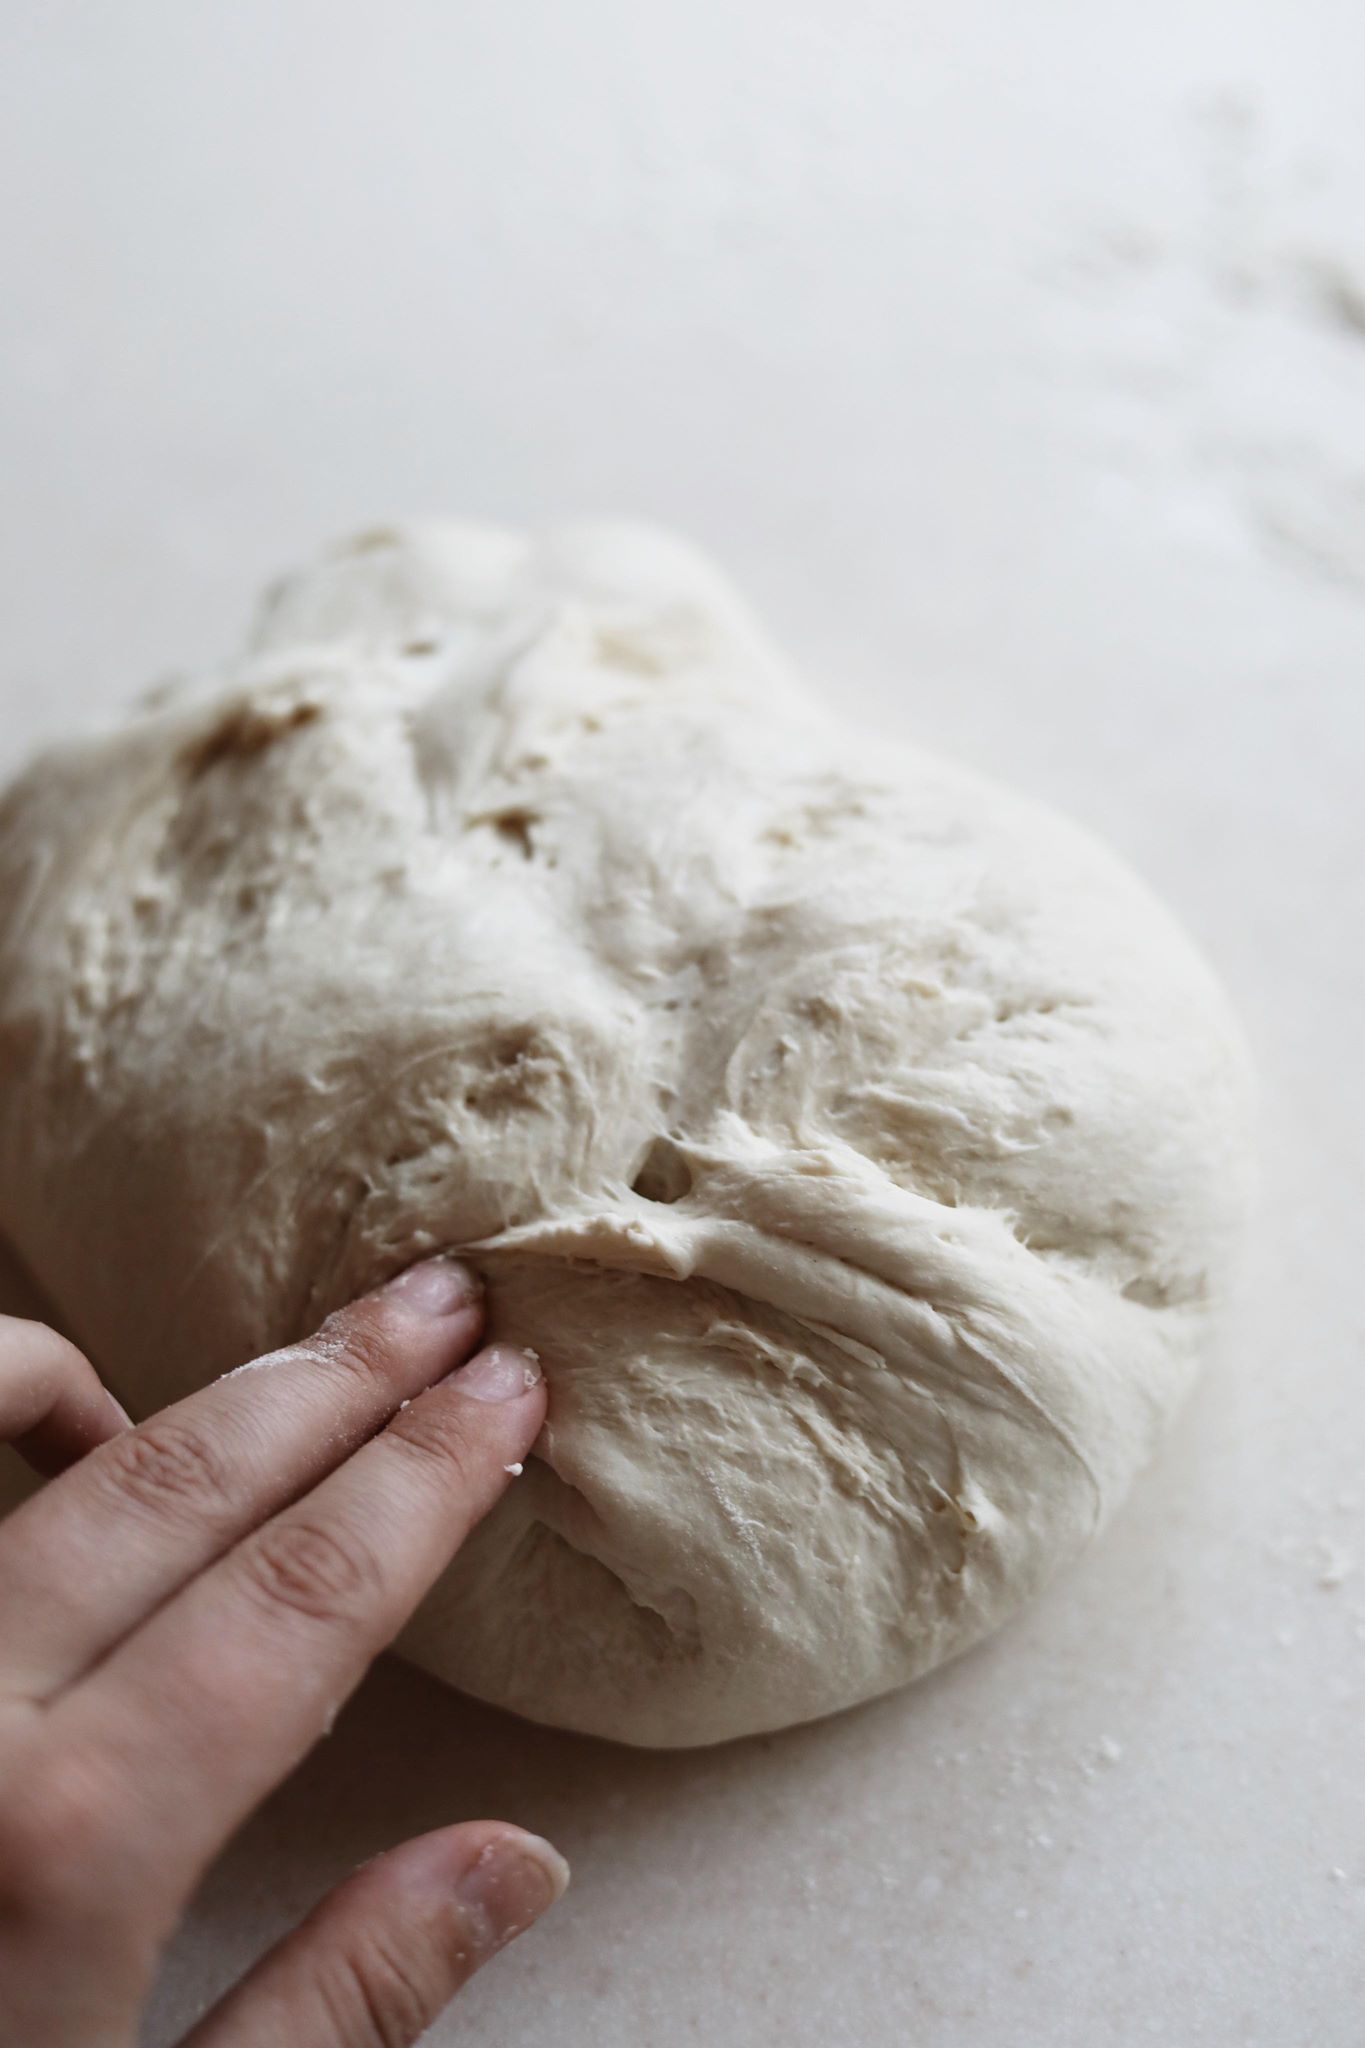
Now the dough has to be folded over the next 4 hours while it’s on the kitchen counter (at room temperature). Fold it after 30 minutes first, then after 30 minutes again, then after 1 hour, and after 2 hours. If your dough shows no further signs of activity, then fold it again after 2 hours. You can watch a video here of how to fold the dough into itself.
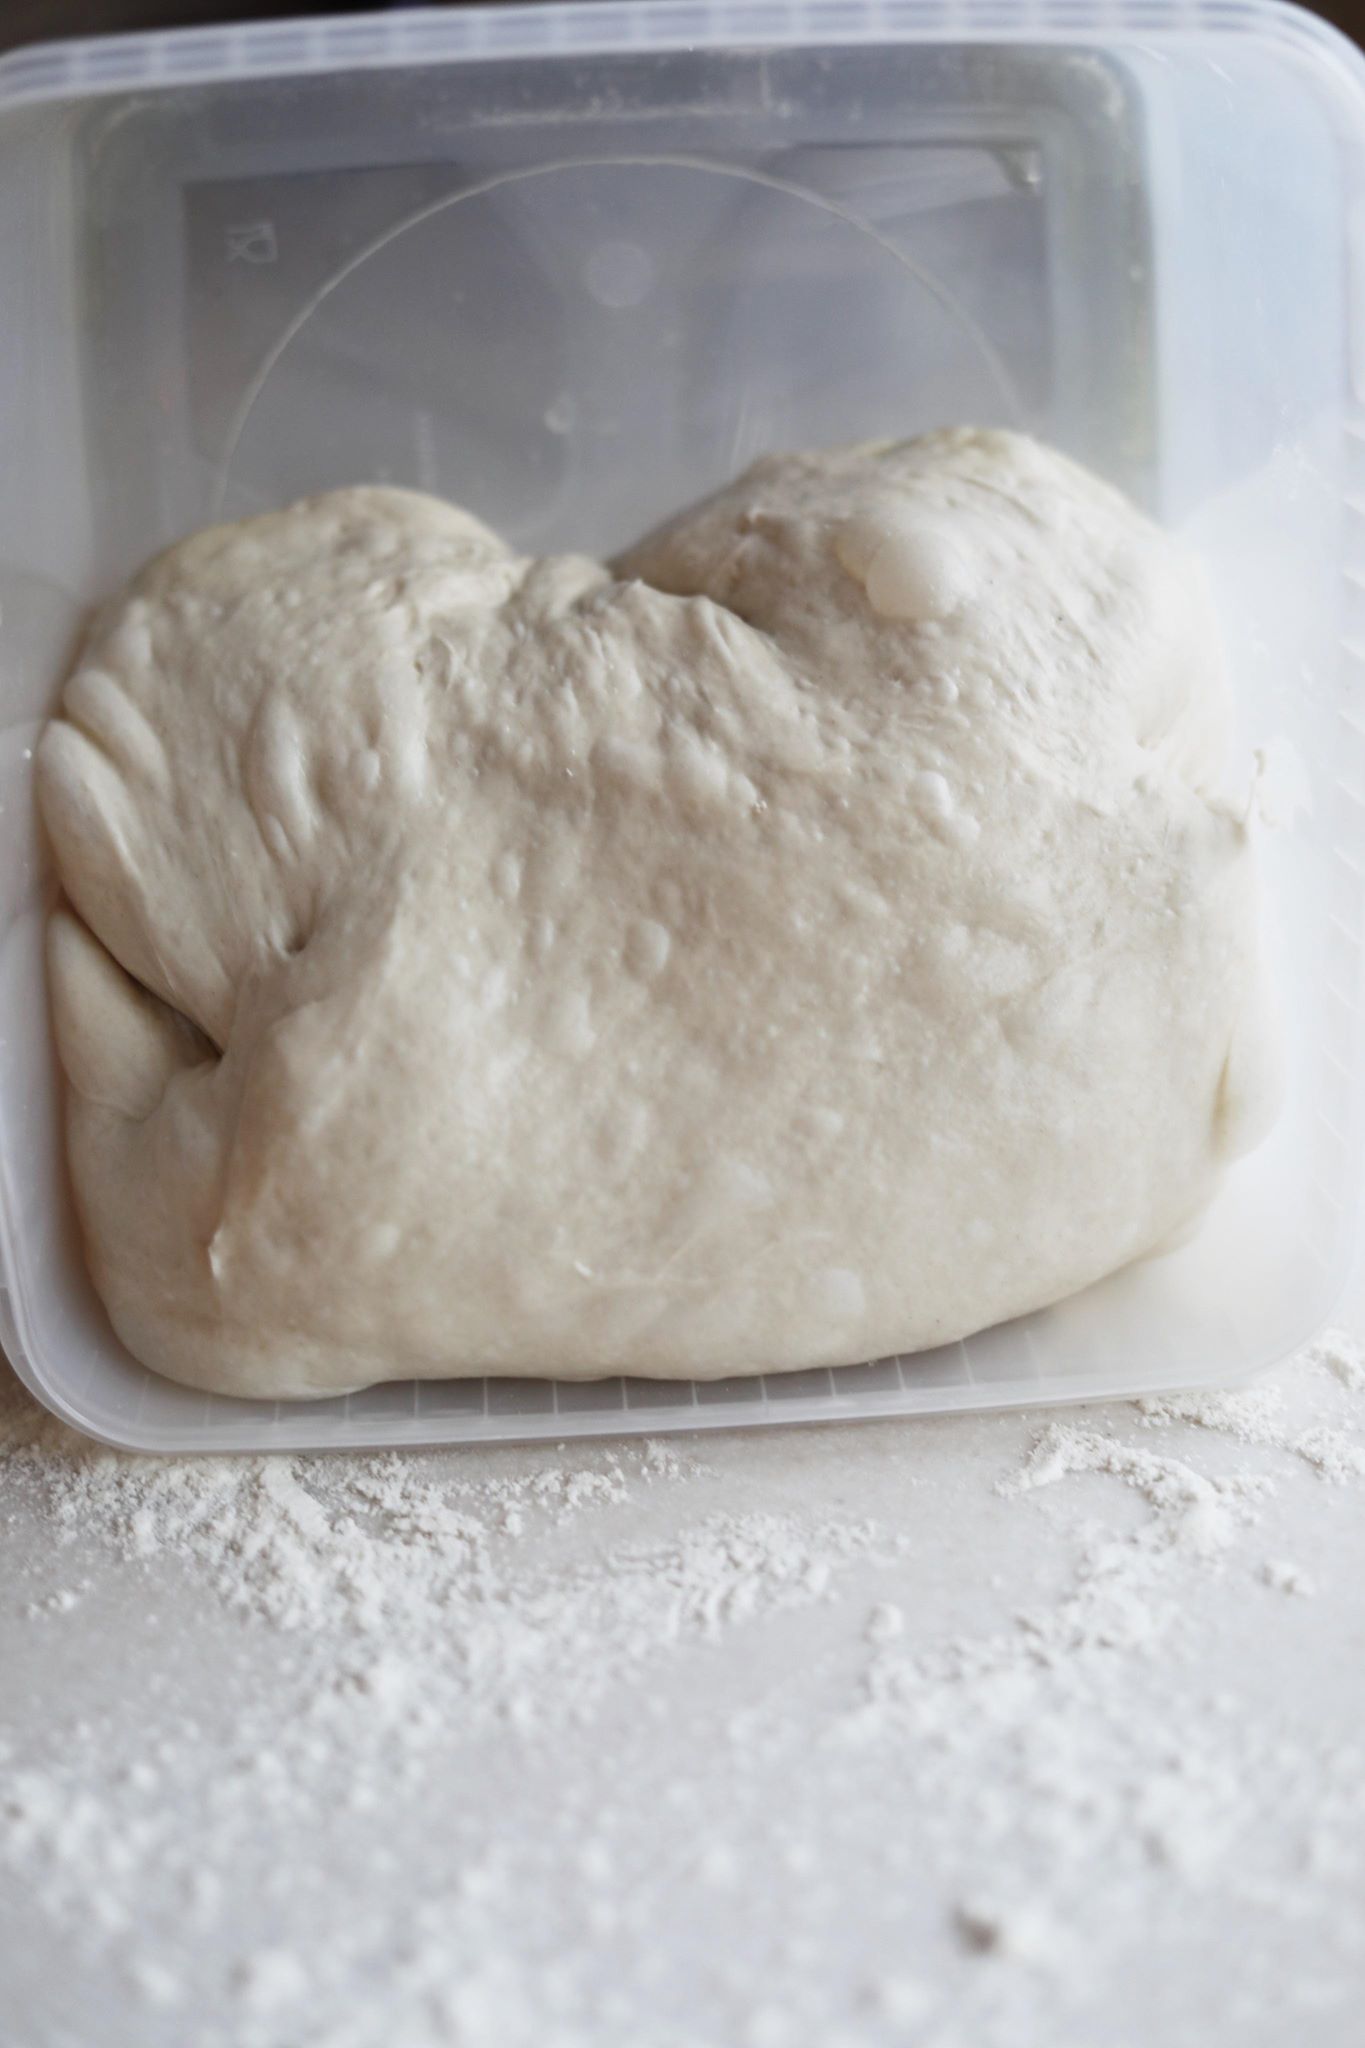
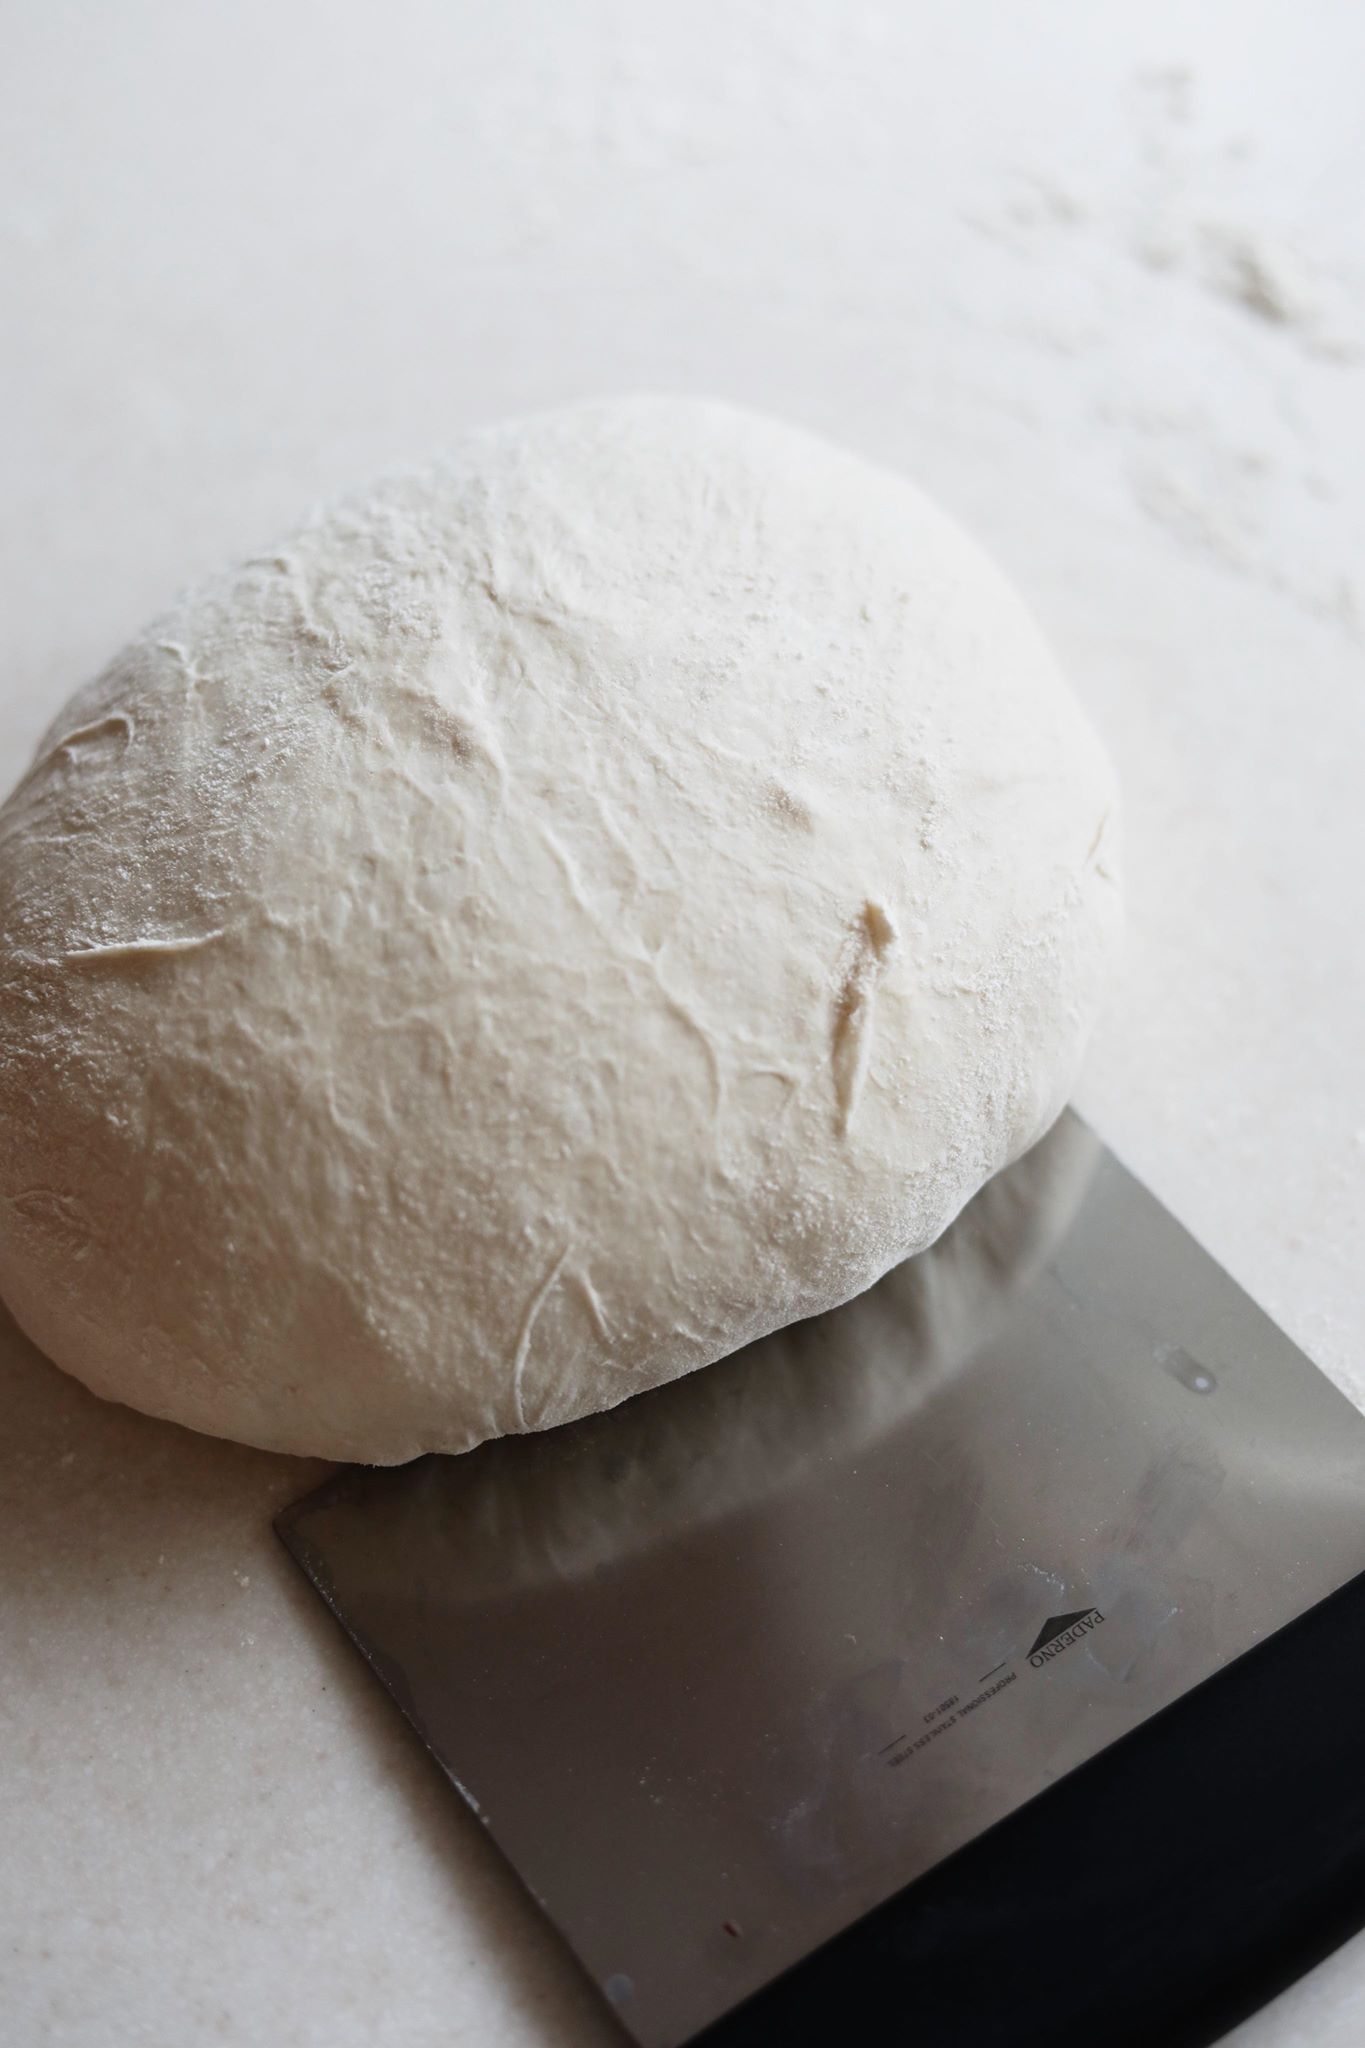
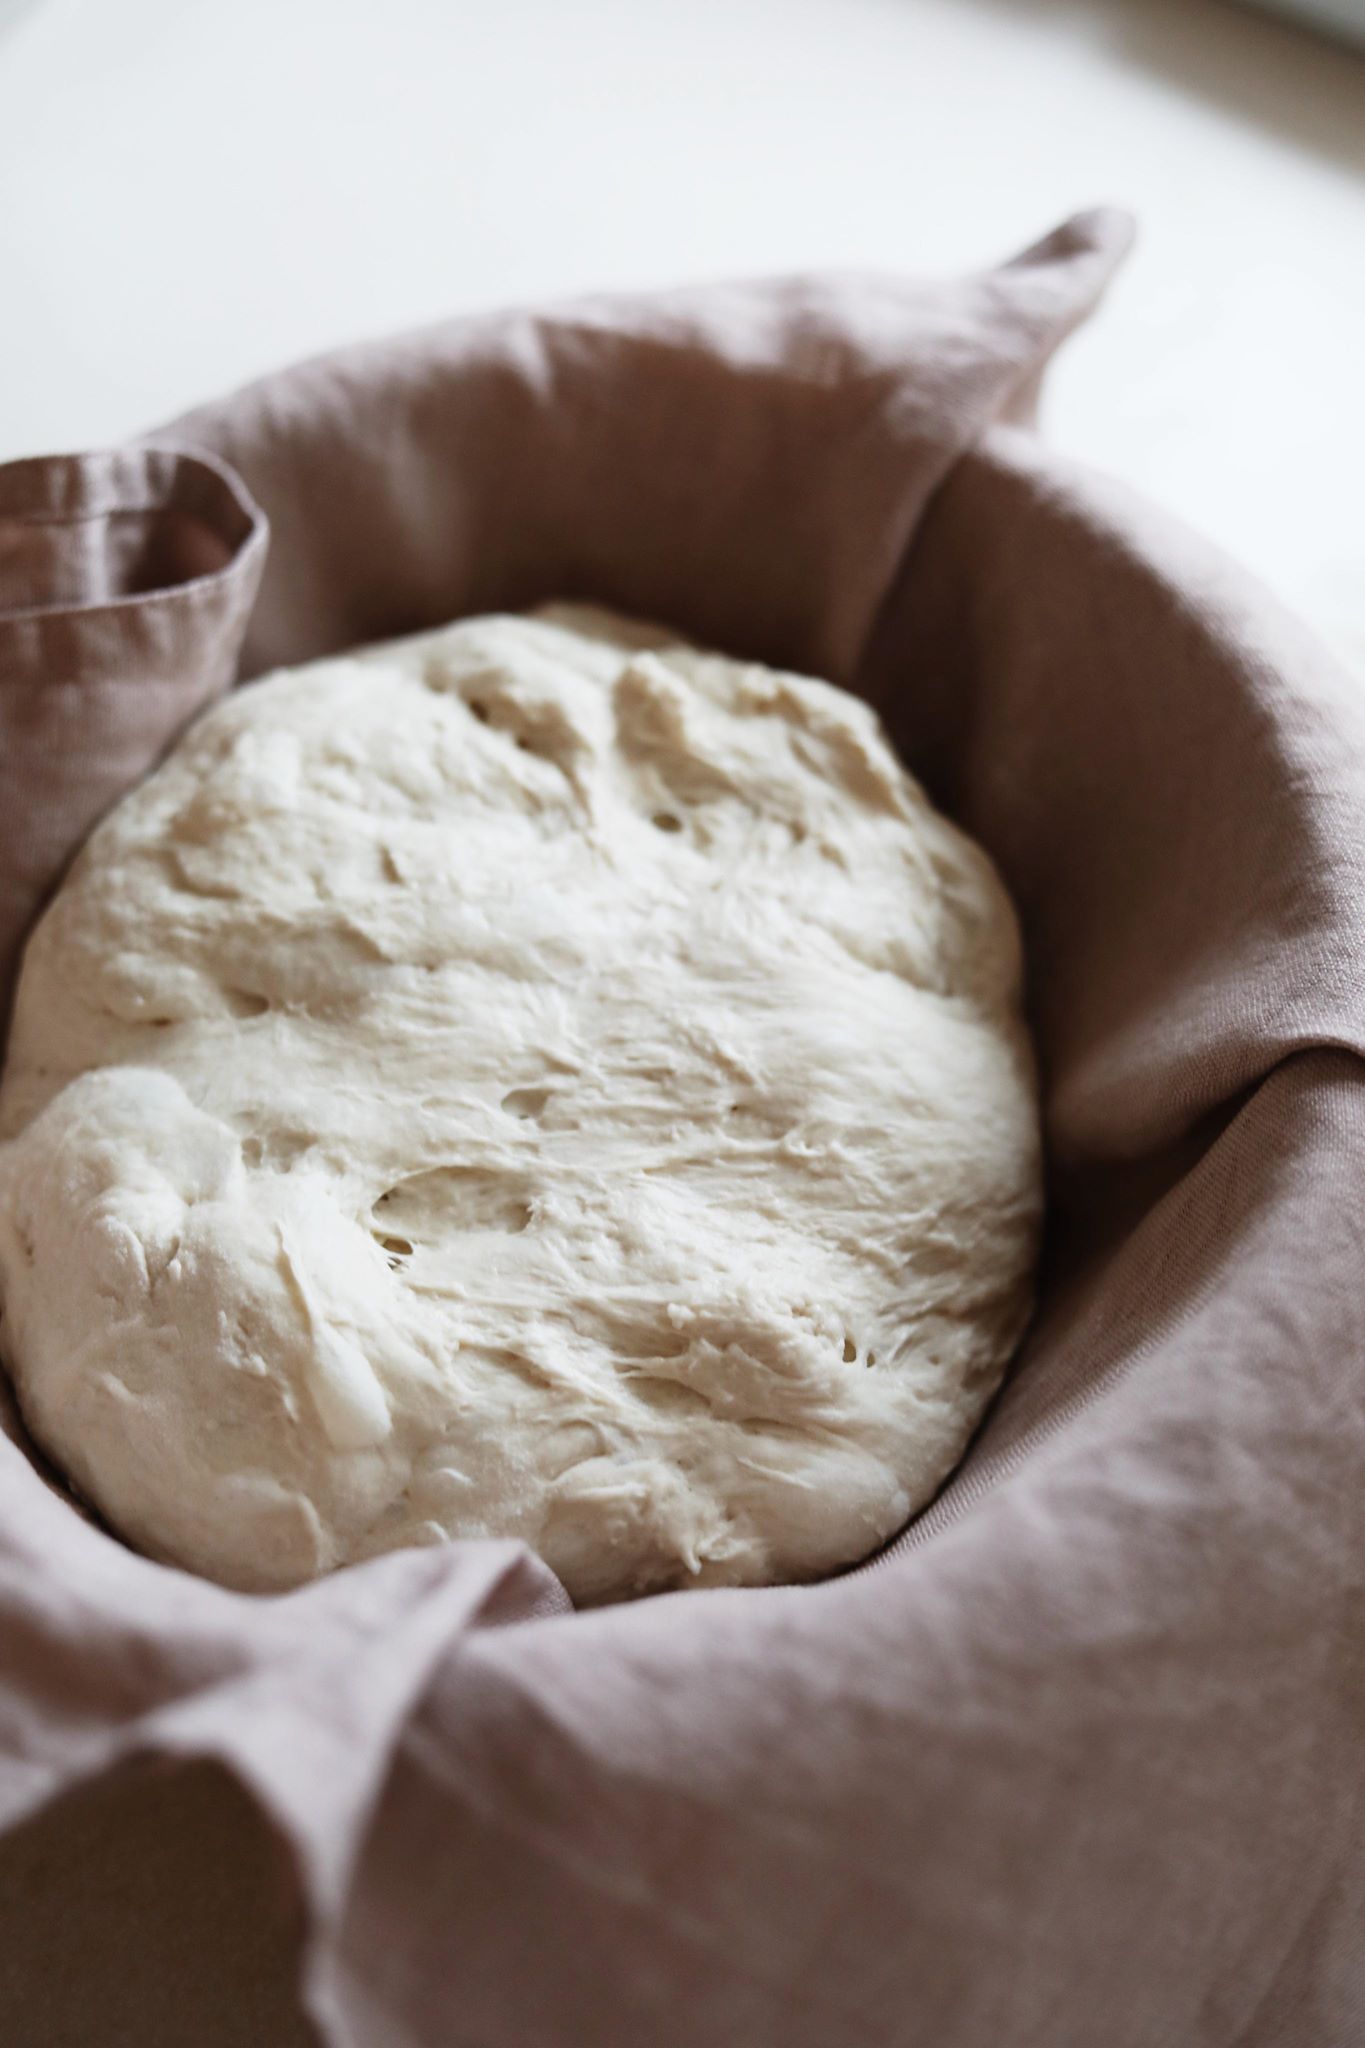
Sprinkle a little rice flour on the counter and gently pour your dough out onto the counter. Tense the dough by rounding the dough in under itself until it’s completely round. Let the dough rest for 20 minutes. Then fold the dough in on itself. Cover your bread raising basket with a cloth and sprinkle with rice flour. Put the dough in the basket with the “gather” facing up. Leave the dough on the kitchen counter for 30 minutes and then refrigerate overnight.
The next day, heat the oven to 250 C convection with a cast iron pot inside. Allow the oven to heat for 1 hour.
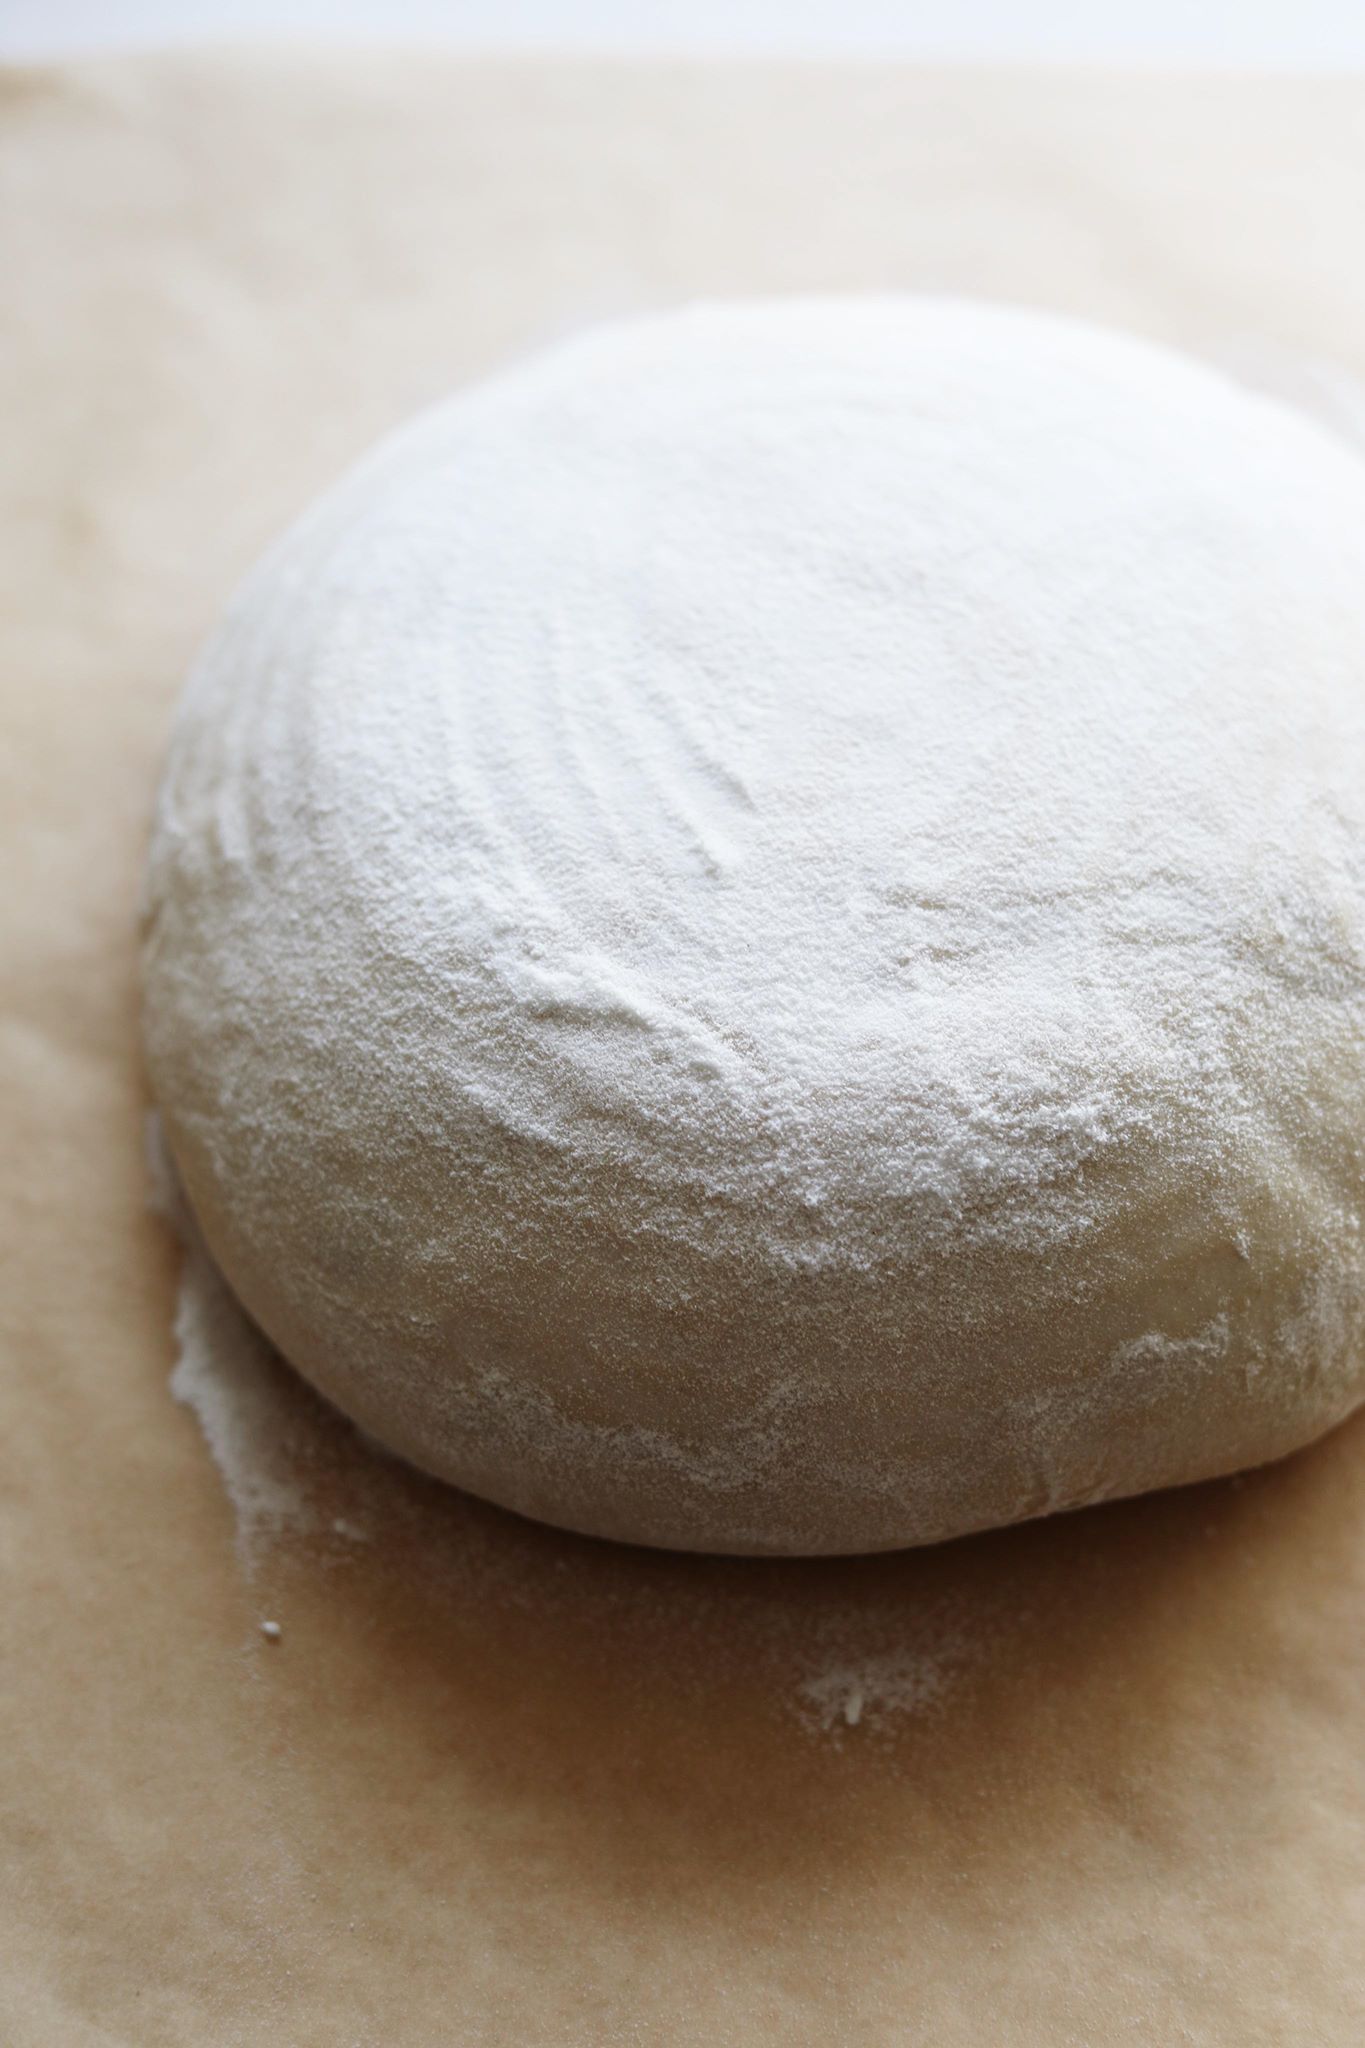
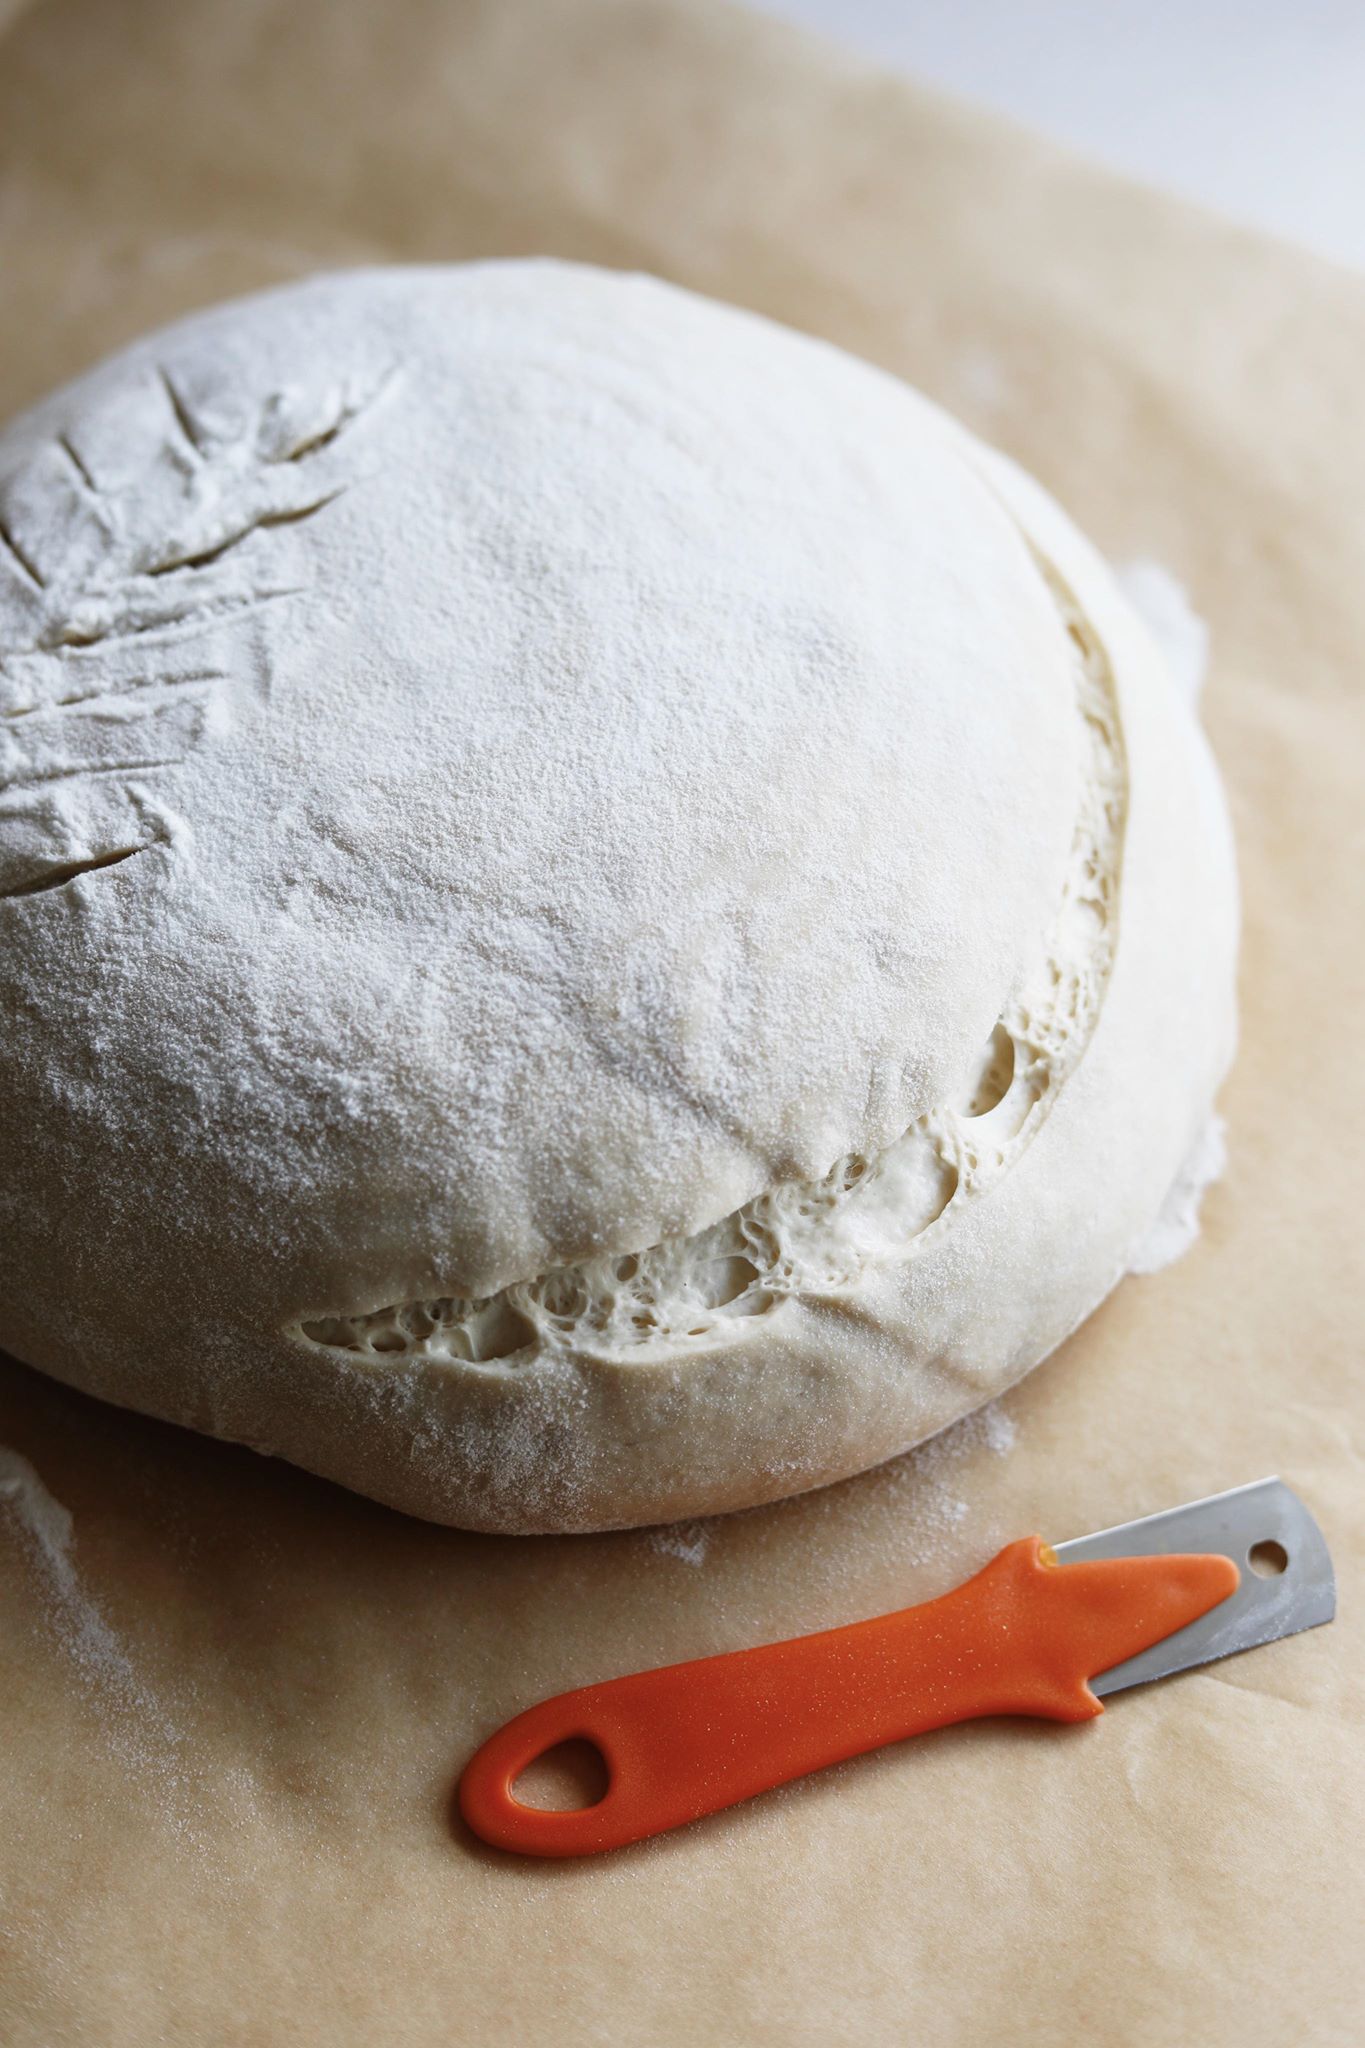
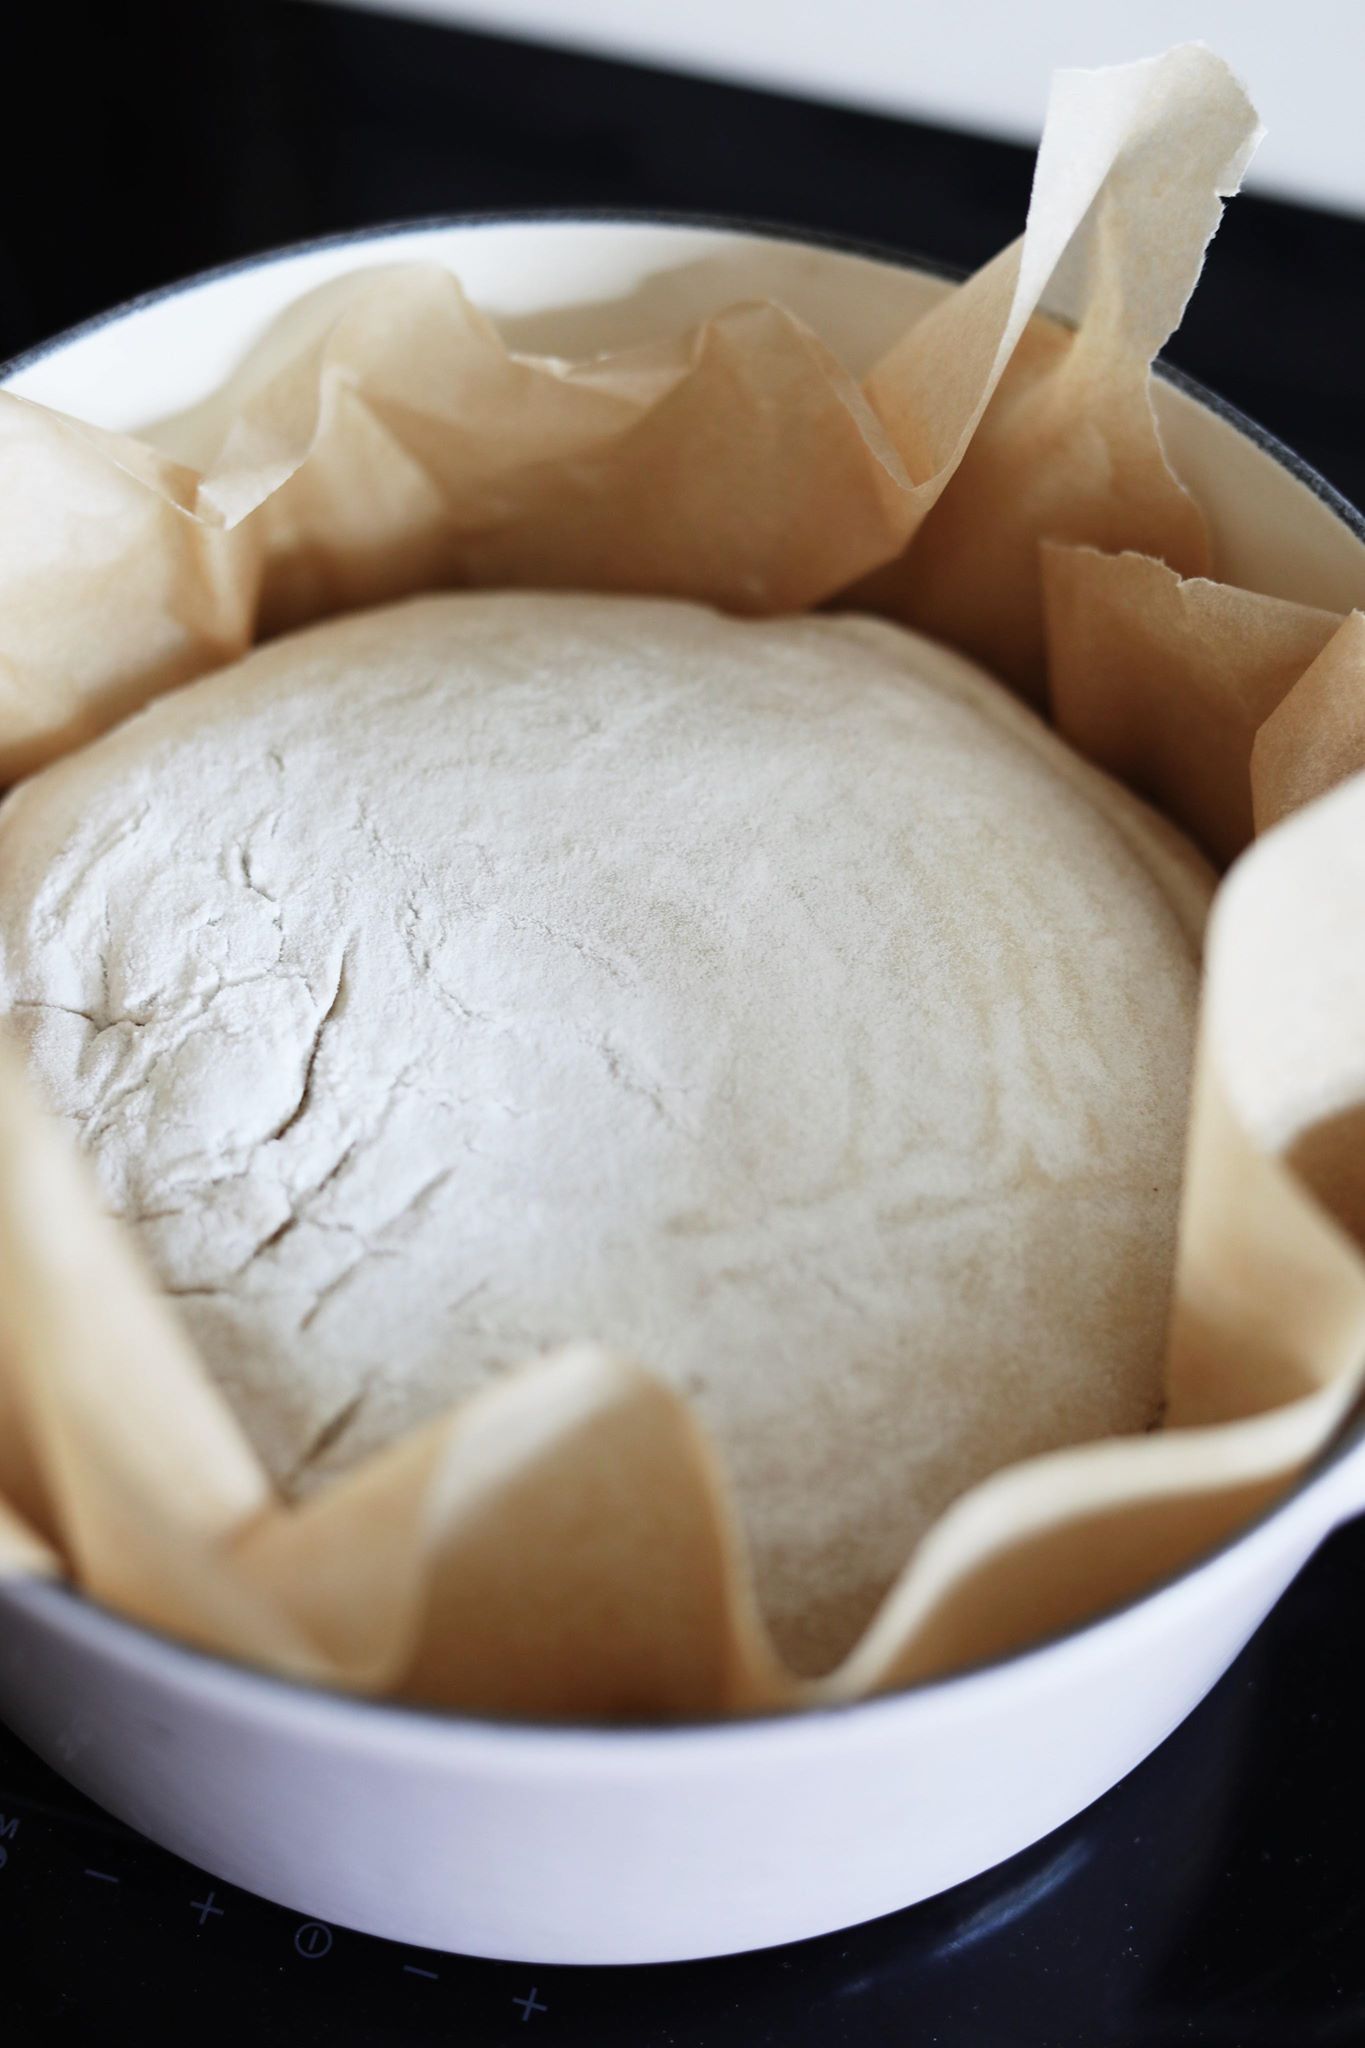
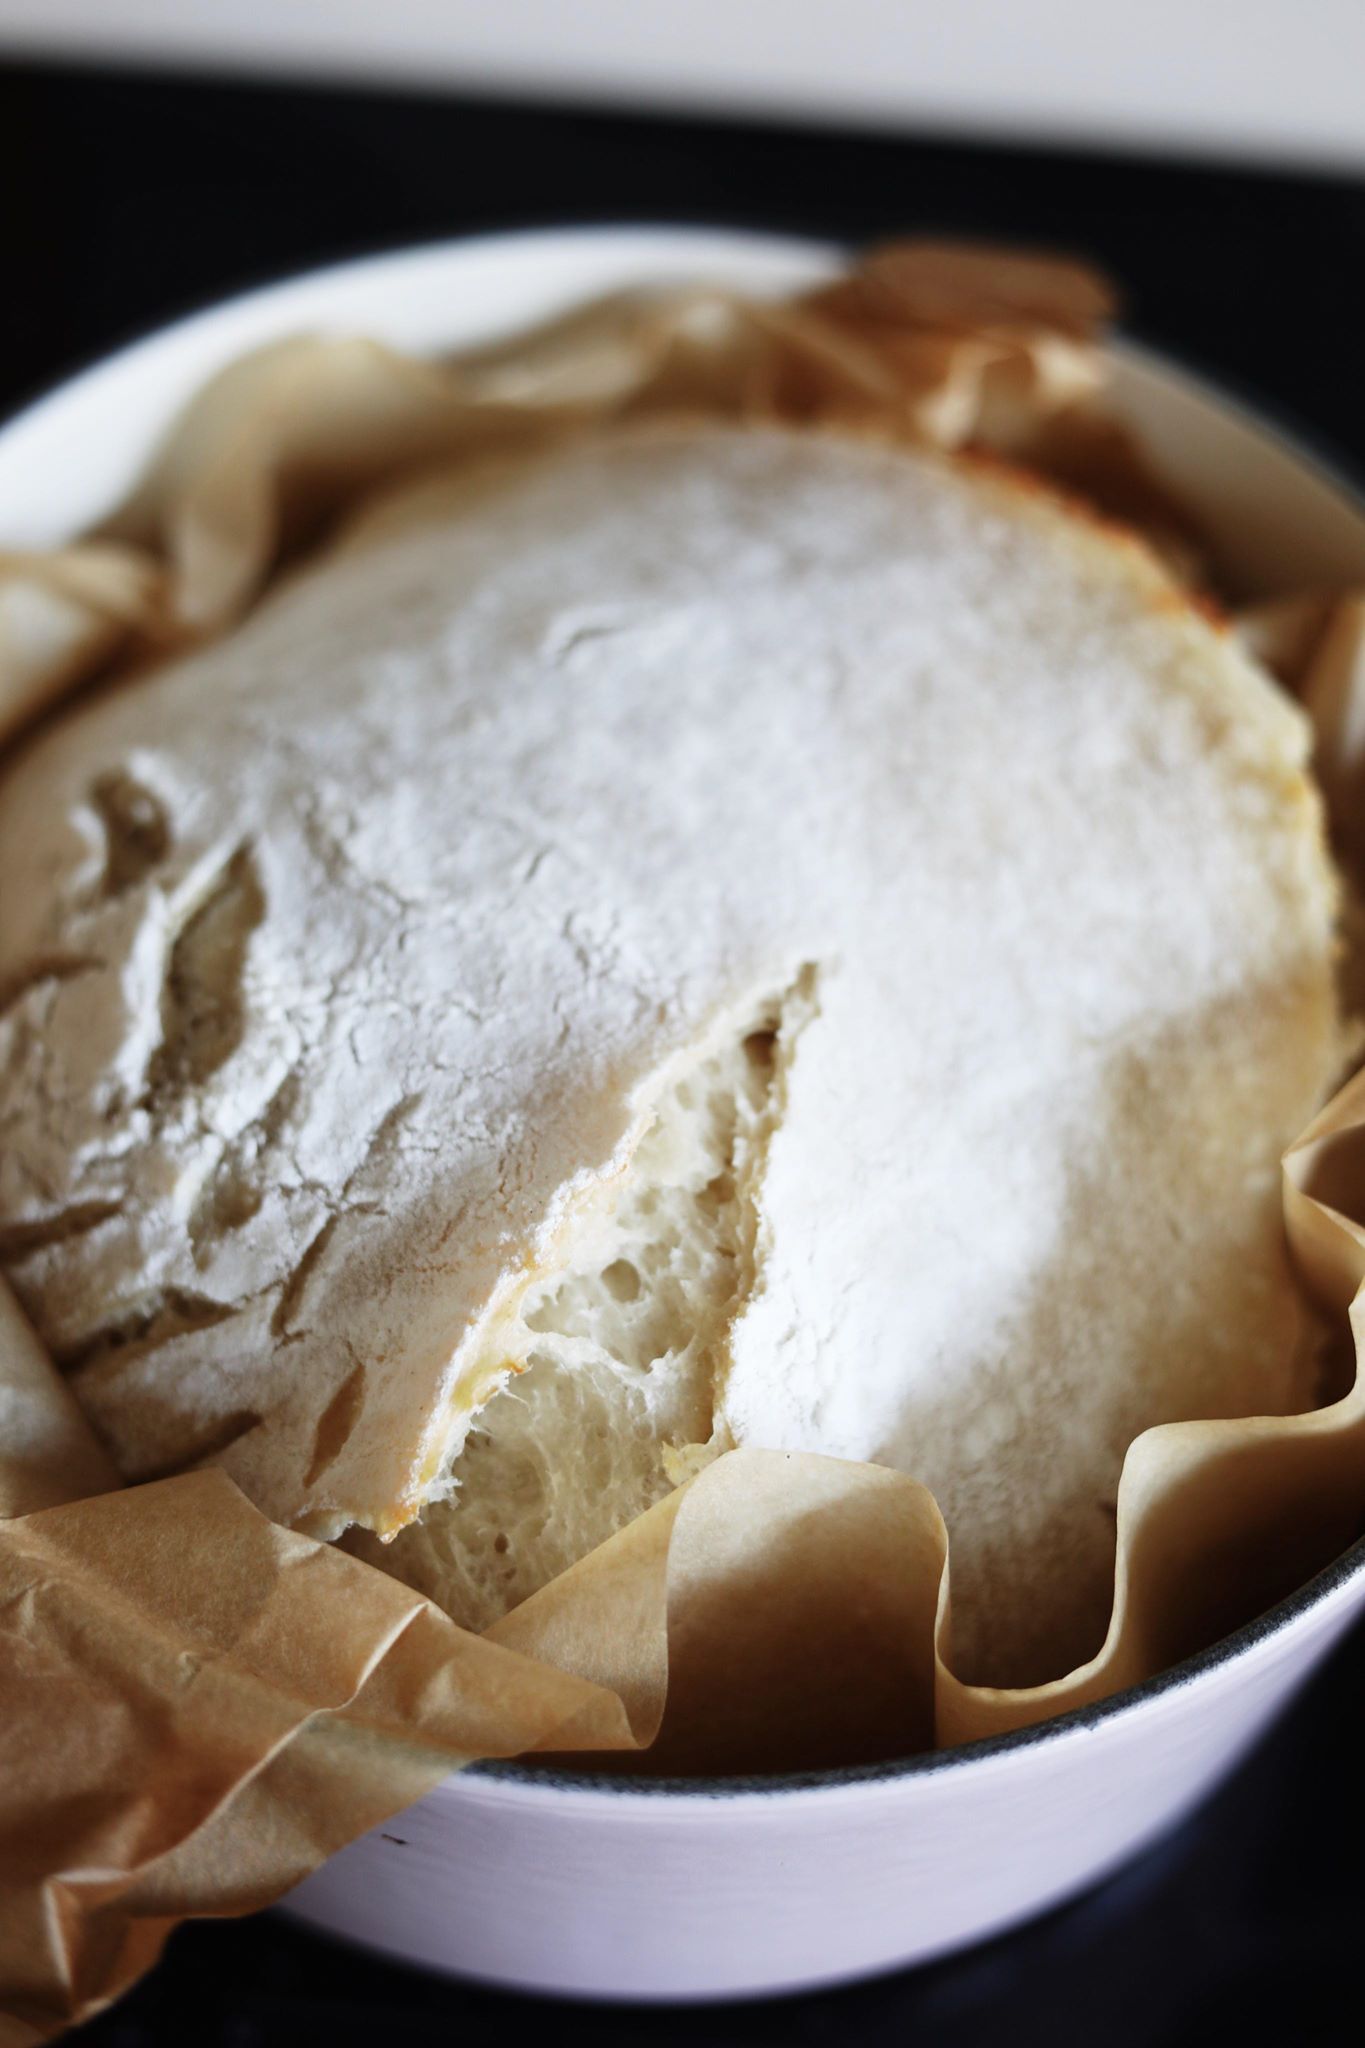
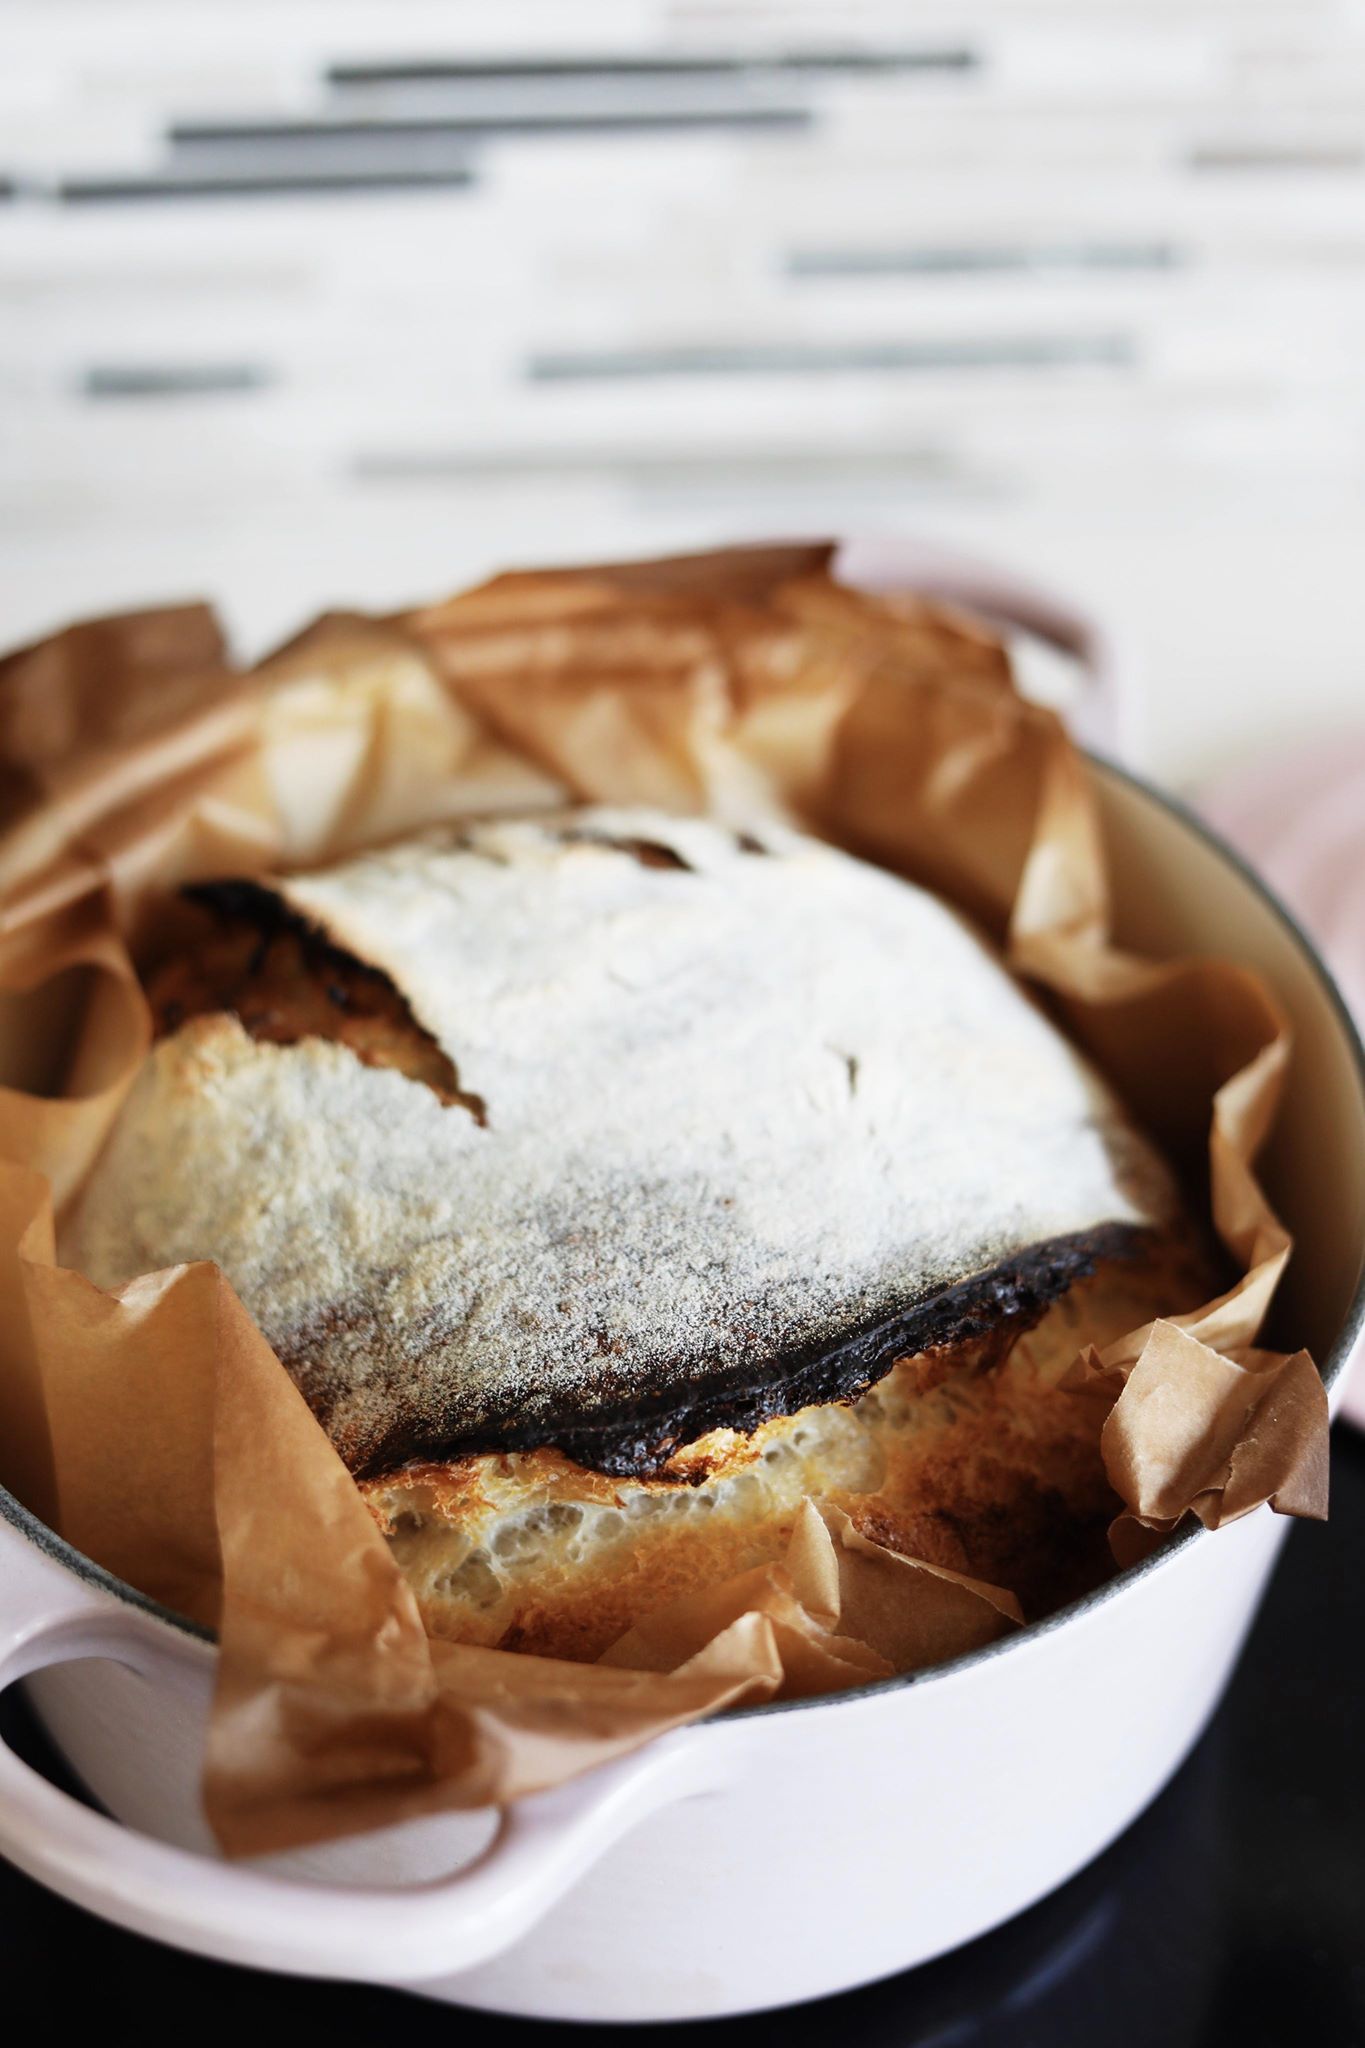
Turn the dough out onto a piece of baking paper. Cut the dough with a knife or bread scoring tool. Lift the dough into the hot pot (with the baking paper) and place the lid on it. Bake the bread for 20 minutes with the lid on. Then take the lid off and bake the bread, uncovered, for another 20 minutes. Then allow the bread to cool on a wire rack to preserve the crispy crust. Remember ovens are different so you have to test your way forward – maybe your bread needs more or less time in the oven. Enjoy the bread while it’s still warm and tastes best. Enjoy!
Please write a comment